How to Teach the Types of Clouds
Ever noticed your 5th graders staring dreamily out the window, their eyes fixed on the fluffy or wispy shapes in the sky? It’s not just daydreaming; it’s natural curiosity. Our classroom windows offer a glimpse into a sky filled with stories, science, and wonder. Each cloud type is like a clue, helping us predict the weather or understand the atmosphere a bit better. Ready to turn those skyward glances into teachable moments?
This is the fourth and final lesson of the weather unit. Check out the first lesson on types of precipitation here. The second lesson on weather tools can be found here and the third lesson on climate zones can be found here. Below, in the chart, you’ll find an estimated timeline and each of the lessons that will be covered throughout the weather unit.
| Weather Unit Lessons | Estimated Timeline |
| Types of Precipitation | Days 1 – 2 |
| Weather Tools | Day 3 – 6 |
| Climate Zones | Days 7 – 8 |
| Types of Clouds | Days 9 – 10 |
| Review Weather Unit & Assess | Days 11 – 15 |
Materials You Need:
- Types of Clouds Mobile
- String/Ribbon
- Hole Puncher
- Scissors
- Cloud Characteristic Chart
- Matching Cloud Game
| Essential Questions | – What are the main types of clouds and how are the different? – How do clouds determine the weather in a particular place and time? |
| Learning Goal & Objective | – Students will be able to identify clouds and how they determine the weather in a particular place and time. |
| Florida Standard | SC.5.E.7.3 Recognize how air temperature, barometric pressure, humidity, wind speed and direction, and precipitation determine the weather in a particular place and time. (Florida standards states that clouds are limited to cumulus, cirrus, stratus, and cumulonimbus) |
| Lesson Overview | – Cloud Mobile (Or Booklet) – Cloud Characteristic Chart – Matching Cloud Game |
| Higher Order Thinking Questions | – What is your favorite cloud type? Why? – If you were a meteorologist and saw cirrus clouds in the morning, what weather prediction might you give? – Why is it important for pilots to understand cloud types and what they signify? – Compare and contrast cumulus and cumulonimbus clouds. – If you were planning an outdoor event and saw cumulonimbus clouds, how much you prepare? |
Day 9 of the Weather Unit / Day 1 of Types of Clouds
Start by reviewing the hands gestures that students created on Day 1 of the weather unit. Try to do this every day of the weather unit so that you keep it fresh in the students’ minds.
You’ll also want to save a few minutes to do the Weather Data Collection: Compare Locations activity from this lesson.
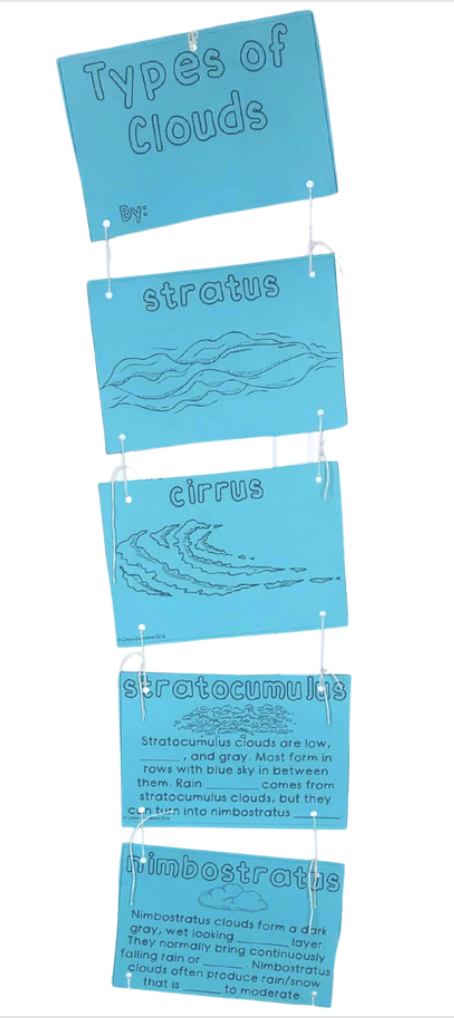
Create a Cloud Mobile
The types of cloud mobile has these clouds pre-made: stratus, cumulus, cumulonimbus, cirrus, nimbostratus, stratocumulus, altostratus, and altocumulus. Just pick and choose the types of clouds you want to teach.
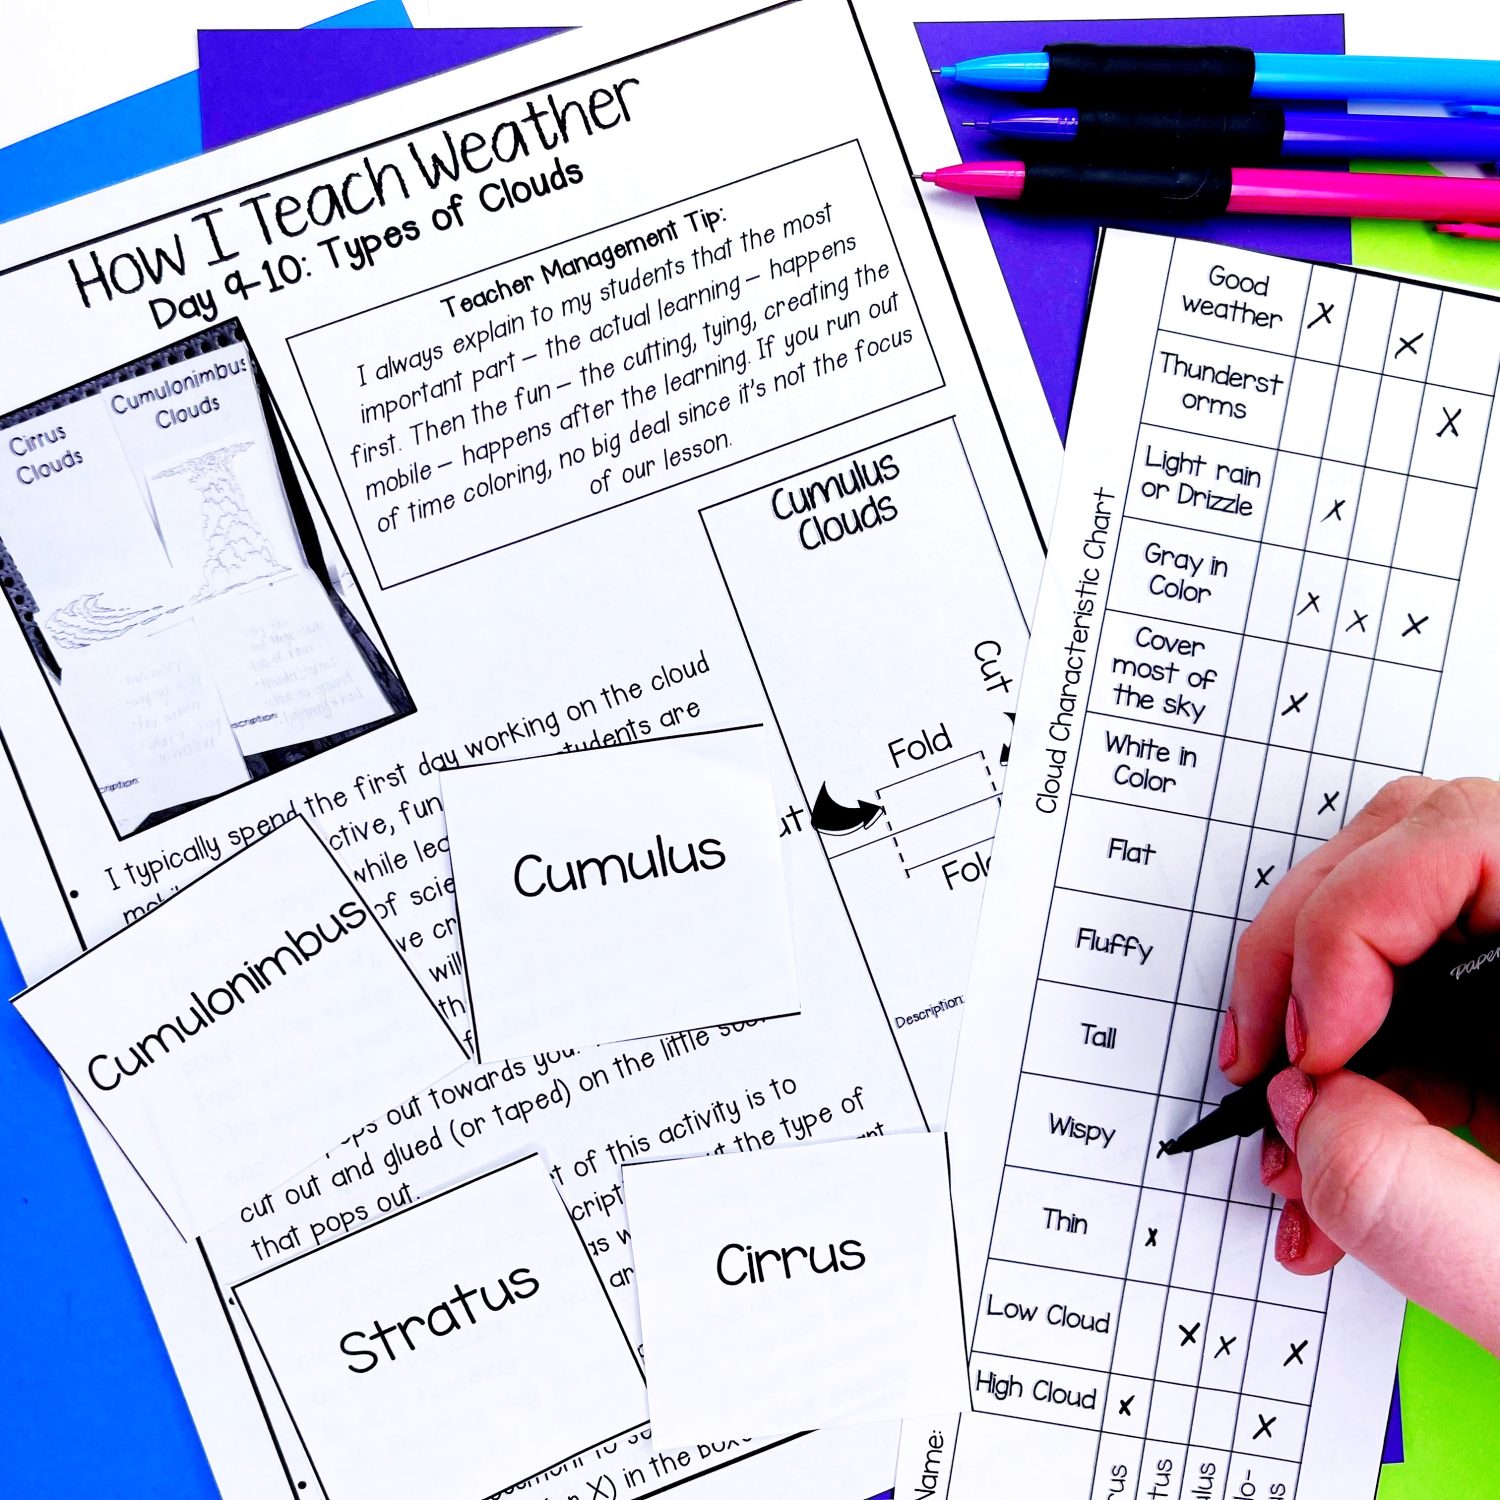
Spend the first part of class filling in the blanks and discussing each type of cloud. Students will then cut out each part, punch holes, then tie string to create the mobile. You can even have students color in the bubble letters and the clouds (realistically).
There are two types of pages included in this mobile: a fill-in-the-blank and one that is already filled in for you. This makes it super easy to catch up any students who are absent by using the one that’s already completed.
(If you’re in Florida, 5th graders are only required to learn about stratus, cirrus, cumulonimbus, and cumulus.)
Printing Tip: For the mobile, be sure to print the cumulus picture on the front side with the cumulus words on the back side. It may take a minute to get the copier to print it facing correctly, but it’s completely worth it! If you don’t have access to print double sided, that’s okay! Just have the students glue the papers from to back.
If creating a mobile sounds like too much work, you can easily turn this into a book instead of a mobile!
Day 10 of the Weather Unit / Day 2 of Types of Clouds
Cloud Characteristic Chart
Complete the Cloud Characteristic Chart. You can either do this as a class or use it as a mini-assessment to see what your students have mastered. Students will put a checkmark (or X) in the boxes that describe that type of cloud.
Types of Cloud Matching Game
It’s time to play a matching game! There are 8 matching cards (one for each cloud and one for each description). Soo many ways to play this game! Here are a few variations below:
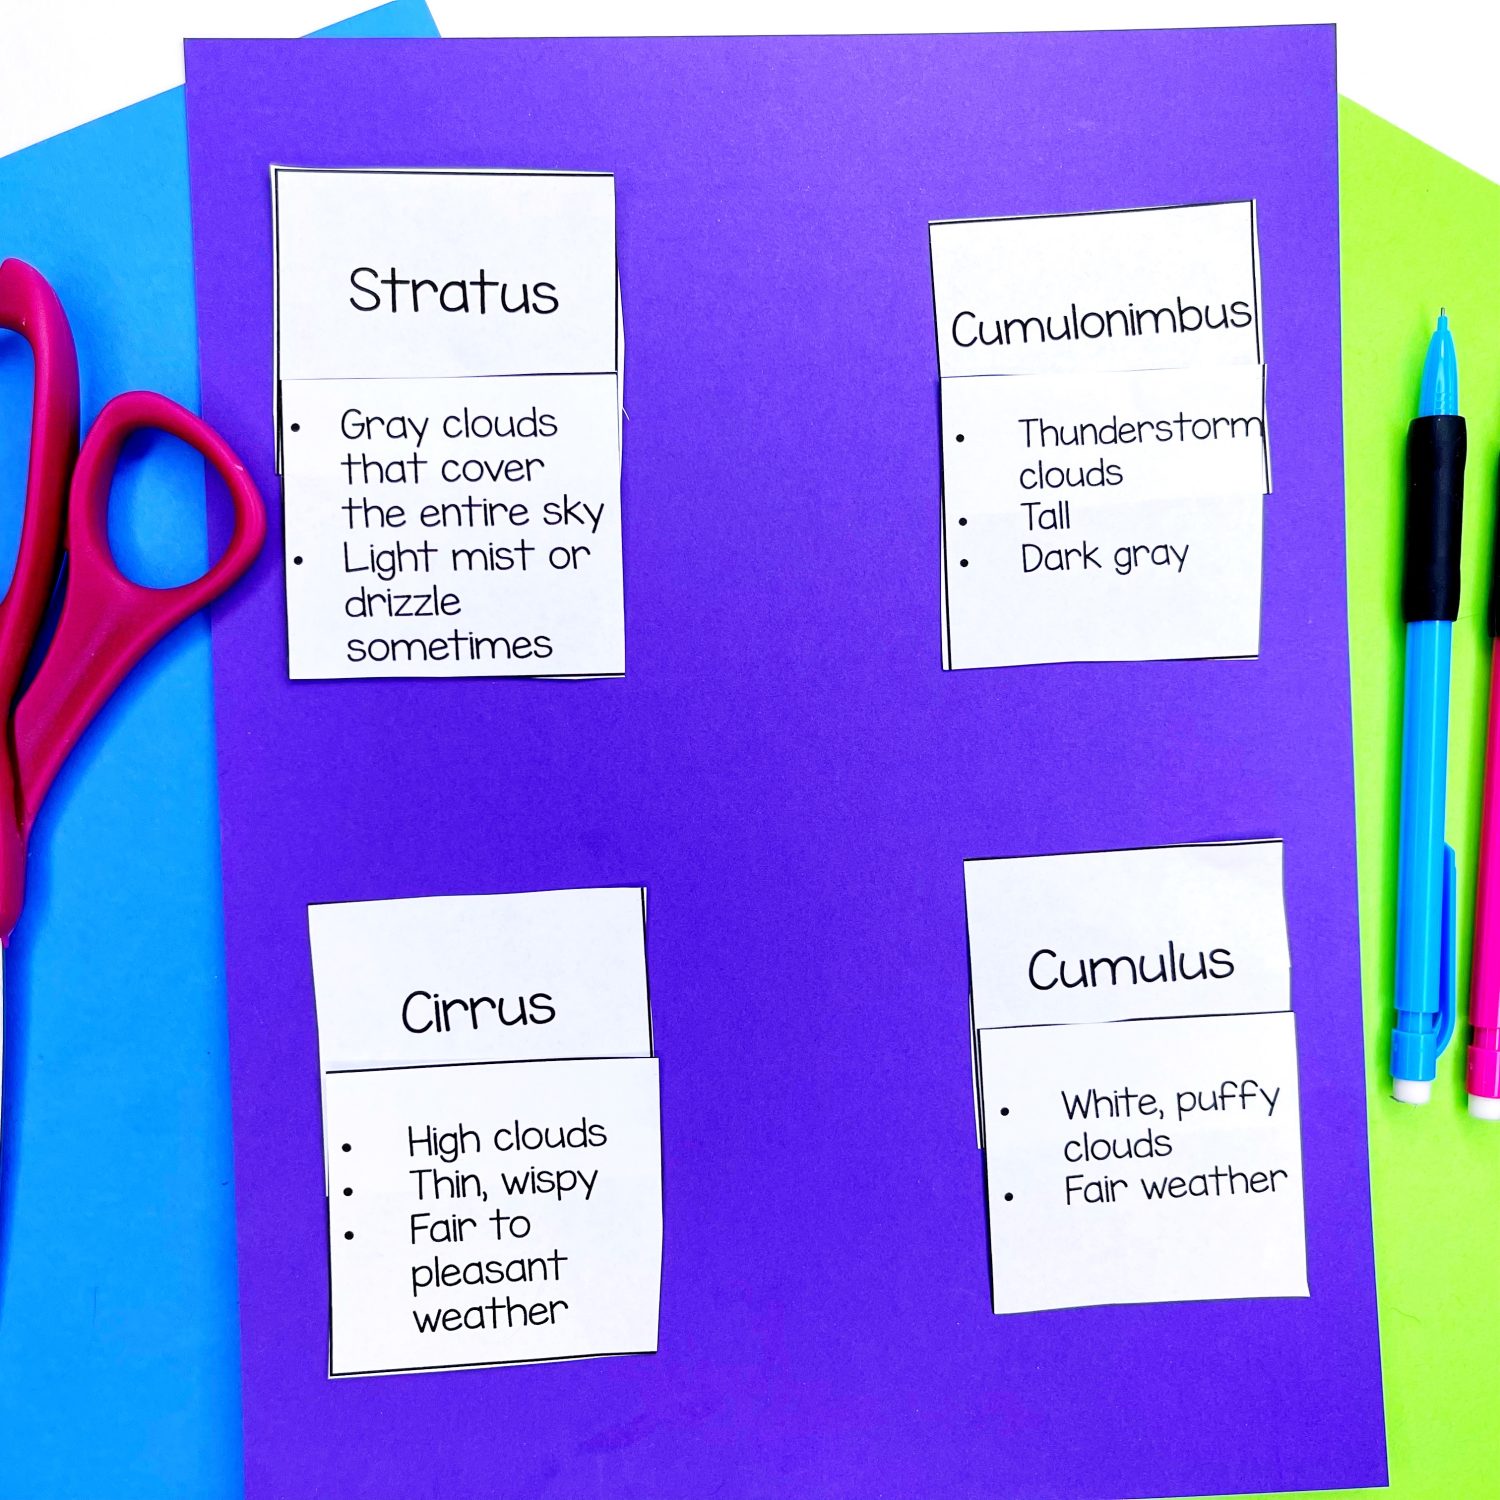
– Traditional Matching: Students will spread out the cards face up. Then, students will match the cloud name cards to the appropriate description.
– Memory Game: Students will place all 8 cards face down in a grid. Students will take turns flipping over two cards at a time, trying to match a cloud with its correct description. If they find a match, the student will keep the cards and get another turn. If not, they flip the cards back over. The goal is to remember where each card is for successful matching.
– Timed Challenge: Mix up the tool cards and their description. Set a timer and challenge students to match them correctly as quickly as they can. This can be played individually or in teams.
– Relay Match: Divide students into teams. Place the tool cards at one end of the room and the definitions at the other. On “Go!”, the first student from each team races to match one cloud with its description, then runs back to tag the next teammate. The team that matches all cards correctly first wins.
– Charades-Inspired Match: One student randomly picks a cloud card without showing anyone. They act out or mime the cloud’s description while others guess which cloud it is. Once the correct cloud is guessed, the group selects the corresponding definition.
– Interactive Scavenger Hunt: Hide the cloud cards around the classroom or outdoor space. Provide students with the description and have them search for the corresponding cloud cards.
– Cut & Paste: Have students glue the cloud name with the description and add it to their science notebook.
3D Pop Up Cloud Books
Just in case your students need more hands-on fun with clouds, these 3D pop up cloud books are so much fun! Students will cut out the books (the four vertical parts) and fold up the paper in the middle. Then, students will cut out the clouds and tape or glue the clouds onto the 3D part that pops out.
The most important part of this task, in my opinion, is the written description at the bottom of the 3D pop up books. Use bullet points to describe the clouds. You can do this part as a whole class or have students use their mobiles from yesterday to help them fill in the description.

Types of Clouds Exit Slip Question Ideas:
- Describe the cloud types and how they differ.
- If you see stratus clouds, what kind of weather can you expect?
- How can you tell the difference between cumulus and cumulonimbus clouds?
- If you see cirrus clouds, what might that tell you about the weather in coming days?
- Cumulonimbus clouds grow vertically. What does that mean and why is it significant?
- How can you use clouds to predict the weather?
Love this lesson?
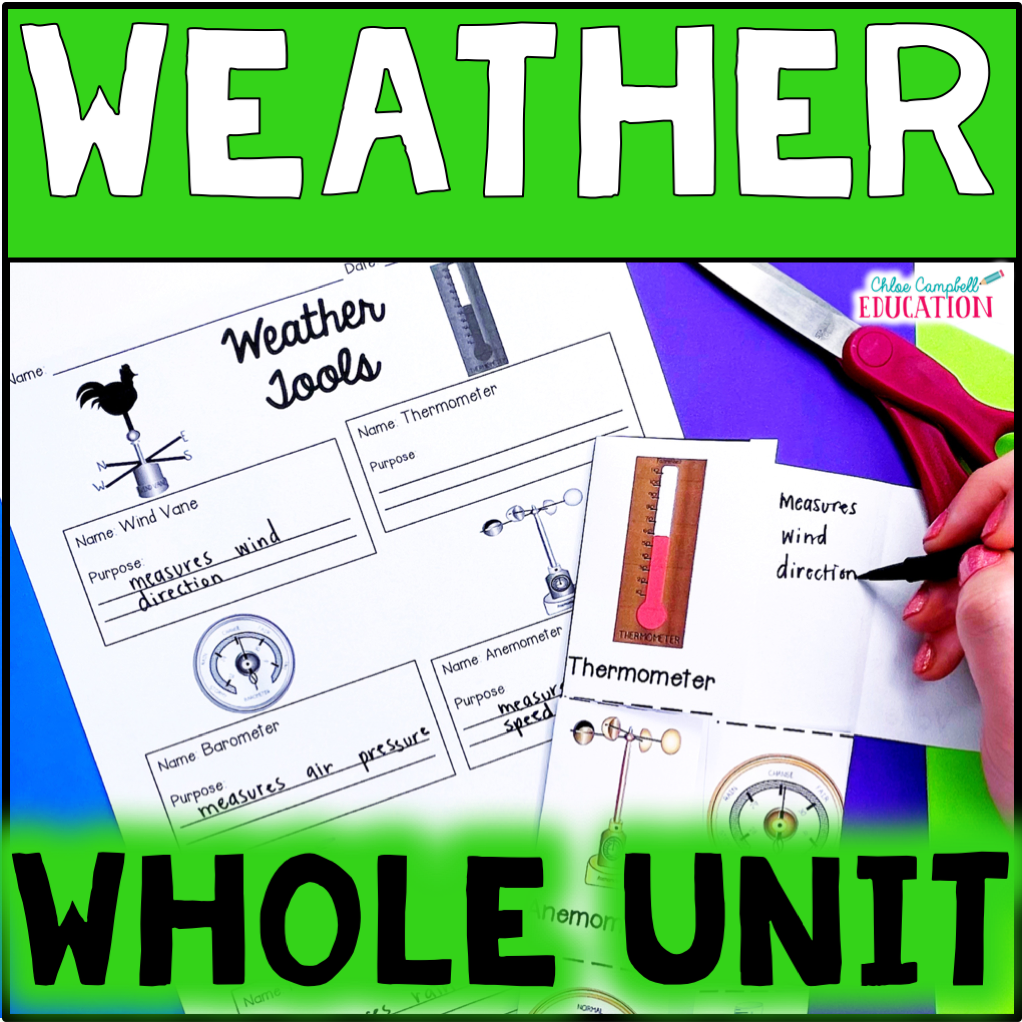
Get everything for the types of types of clouds lesson here OR get all the weather activities done for you here!
Save this Science Lesson!
Pin these ideas to your favorite classroom Pinterest board. Then you can come back whenever you need ideas or inspiration!