Teaching Weather and Climate: Science Lessons for 3 Weeks
As we wrap up our journey through the world of teaching weather and climate, I’ve got the perfect set of review activities for your 5th graders. I want to make sure that my weather and climate unit, lessons, and activities not only inspire curiosity but also help students with their conceptual understanding of these science topics. Here’s a week-long breakdown of the last week of instruction that’ll make your student meteorologists ready for their final assessment!
This is the fifth and final set of activities in the weather unit. Check out the first lesson on types of precipitation here. The second lesson on weather tools can be found here and the third lesson on climate zones, including climate activities, can be found here. The last major lesson of the weather unit is about all the different types of clouds. Below, in the chart, you’ll find a suggested timeline and the key lessons that will be covered as you are teaching weather and climate.
| Weather Unit Lessons | Estimated Timeline |
| Types of Precipitation | Days 1 – 2 |
| Weather Tools & Weather Instruments | Days 3 – 6 |
| Climate Zones | Days 7 – 8 |
| Types of Clouds | Days 9 – 10 |
| Review Weather Unit & Assessment | Days 11 – 15 |
Teaching Weather and Climate: Days 11-15 of the Unit
In this final week of teaching weather and climate, you’ll want to focus on reviewing the concepts your elementary students found most challenging. This week’s activities are designed to reinforce key vocabulary and concepts in the study of weather and climate patterns. Plan to spend the last day on the weather and climate assessment, which will focus heavily on the vocabulary terms learned throughout the unit.
| Essential Questions | – What are the main types of clouds, and how are they different? – How do clouds influence the weather in different places and at different times? |
| Learning Goal & Objective | – Students will be able to identify clouds and explain how they determine the weather in a particular place and time. |
| Florida Standard | SC.5.E.7.3: Recognize how air temperature, barometric pressure, humidity, wind speed and direction, and precipitation determine the weather in a particular place and time. |
Start each by reviewing the hands gestures that students created on Day 1 of the weather unit. This daily practice will keep the concepts fresh in their minds.
Additionally, reserve a few minutes to do the Weather Data Collection: Compare Locations activity from this lesson. This is a great way to tie in the importance of understanding weather conditions in different locations across the United States.
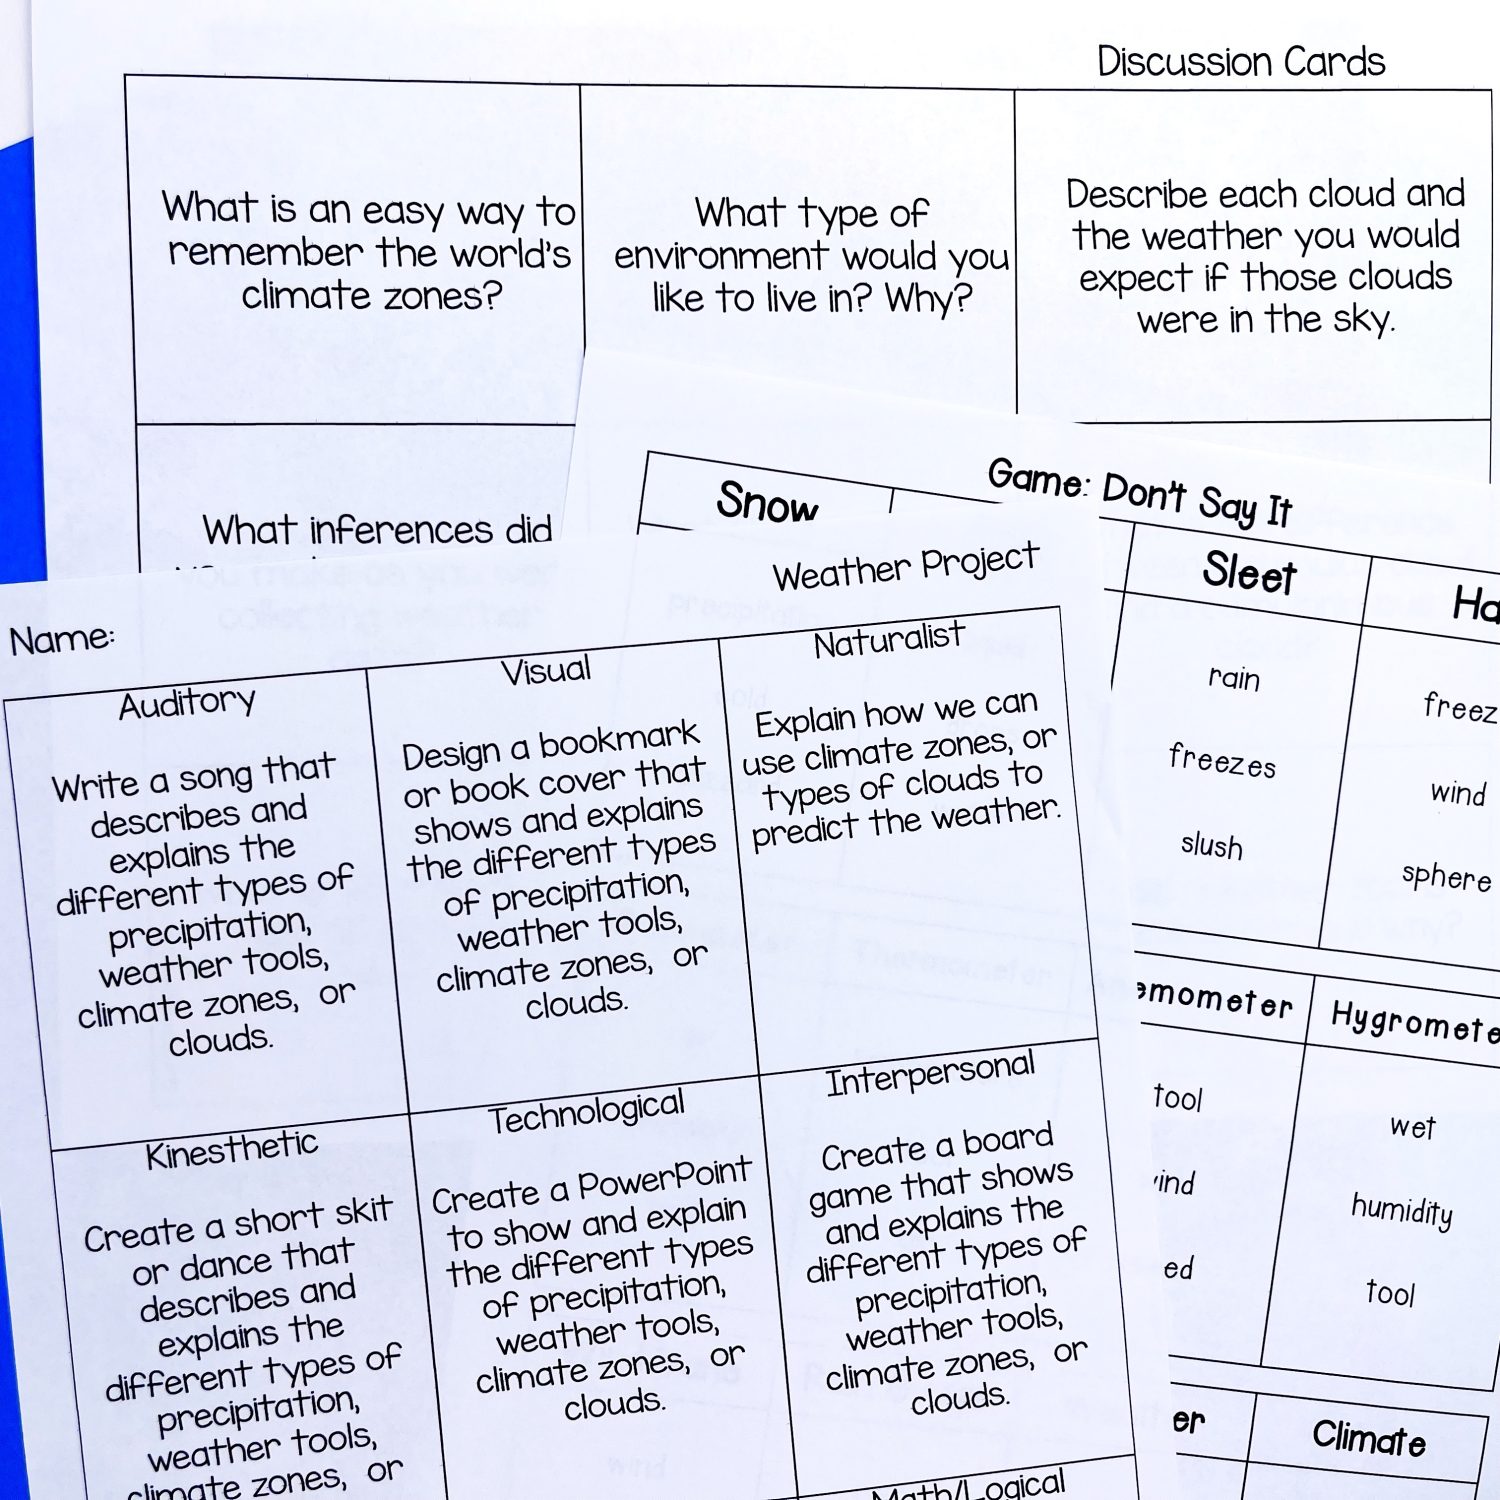
Activity #1: Discussion Cards

Directions:
- Divide the students into small groups.
- Give each group a baggie with the discussion question cards.
- Allow each group 3-4 minutes to discuss each question.
- Encourage students to involve everyone in their group. If a student is dominating the conversation in a group, ask them to check in with their classmates and gather their opinions, too.
Questions You Can Ask During This Review Activity:
– Were there perspectives from your peers that you hadn’t considered?
– What did you learn from your classmates during this discussion?
– Did the student questions your group came up with help you learn more about weather and climate?
Activity #2: Weather Choice Board Project
Directions:
- Introduce the various project options, highlighting how they cater to different learning styles and encourage hands-on activities.
- Allow students to choose a project to focus on for the next 2(ish) days.
- At the end of the project time, have students share their work with classmates through partner shares or small group presentations. This lets them showcase their hard work without consuming too much class time.
Questions You Can Ask During the Activity:
– Why did you choose this project to work on?
– If you had to do this project again, what would you do differently?
– What did you learn by doing this review project?
Activity #3: Don’t Say It Game
Earlier in the unit, we played a similar game when learning about the different forms of precipitation. Now, we’ll use the “Don’t Say It” game to reinforce vocabulary related to teaching weather and climate, such as air pressure, wind speed, and barometric pressure.
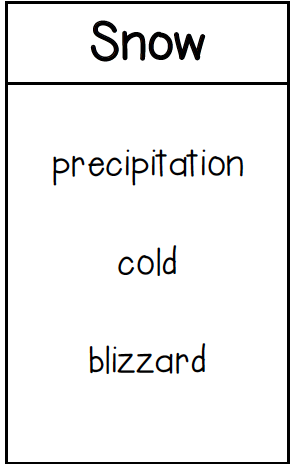
Using the above picture as an example card, the student’s goal is to make his/her classmates guess the word “snow”. However, the student can’t say precipitation, cold, or blizzard when giving cues about the word. They can use words or motions for this game.
Directions:
- Give each student a card with a vocabulary word at the top.
- The student’s job is to make their teammates guess the word—without saying any of the listed keywords. This encourages creativity and deeper thinking.
Questions to ask during the game:
– Which vocabulary term was the most challenging to describe without using the forbidden words?
– Which terms do you need to study before the assessment?
Activity #4: Cloud Matching Vocabulary Game
It’s time to play a matching game to reinforce the vocabulary learned while teaching weather and climate! There are 36 cards—one for each vocabulary word and one for each definition. Here are a few variations of the game:
- Interactive Scavenger Hunt: Hide the vocabulary cards around the classroom or outdoor space. Provide students with the definitions and have them search for the corresponding vocabulary word cards.
- Traditional Matching: Spread out the cards face up. Students will match the vocabulary word cards to the correct definition.
- Memory Game: Place all 36 cards face down in a grid. Students take turns flipping over two cards at a time, trying to match a vocabulary word with its definition. If they match, they keep the cards and take another turn. If not, they flip the cards back over.
- Timed Challenge: Mix up the vocabulary cards and their definitions. Set a timer and challenge students to match them correctly as quickly as they can.
- Relay Match: Divide students into teams. Place the vocabulary cards at one end of the room and the definitions at the other. On “Go!”, the first student from each team races to match one card with its definition, then runs back to tag the next teammate. The first team to match all cards correctly wins.
- Charades-Inspired Match: One student picks a vocabulary word card without showing anyone. They act out or mime the word’s definition while others guess which vocabulary word it is.
Questions to ask during the game:
– Which vocabulary term was the most challenging to find the definition for? Why?
– Which terms do you need to study before the assessment?
Activity #5: Weather Board Game
This weather board game is a fantastic way to review and reinforce key concepts related to weather tools, types of clouds, precipitation, and other essential elements of weather science. By engaging in this hands-on activity, students will not only revisit important vocabulary and concepts but also develop critical thinking and problem-solving skills.
The competitive aspect of the game adds an element of fun, encouraging students to actively participate and collaborate with their peers. This activity is a great way to wrap up your unit on teaching weather and climate, ensuring that students are well-prepared for their final assessment.
Directions for playing the science weather board game:
- Read the directions to the students and model how to play.
- Be prepared with dice/spinner and game pieces for each player (paperclips, pencil top erasers, pieces from another game, etc.)
- Every student should solve every problem – not just the person who rolls.
- Create groups of 2-4 students. The lower number of students means the more focused students are while playing.
- Remind students that the focus is not playing the game but that’s just an added bonus! The focus should be on practicing science skills.
- Show students how to compare and discuss answers. Did you both get the same answer? If students get different answers, ask them to use textbooks, notes, anchor charts, etc. to help prove their answer.
- Each student gets a recording sheet so everyone is held accountable!

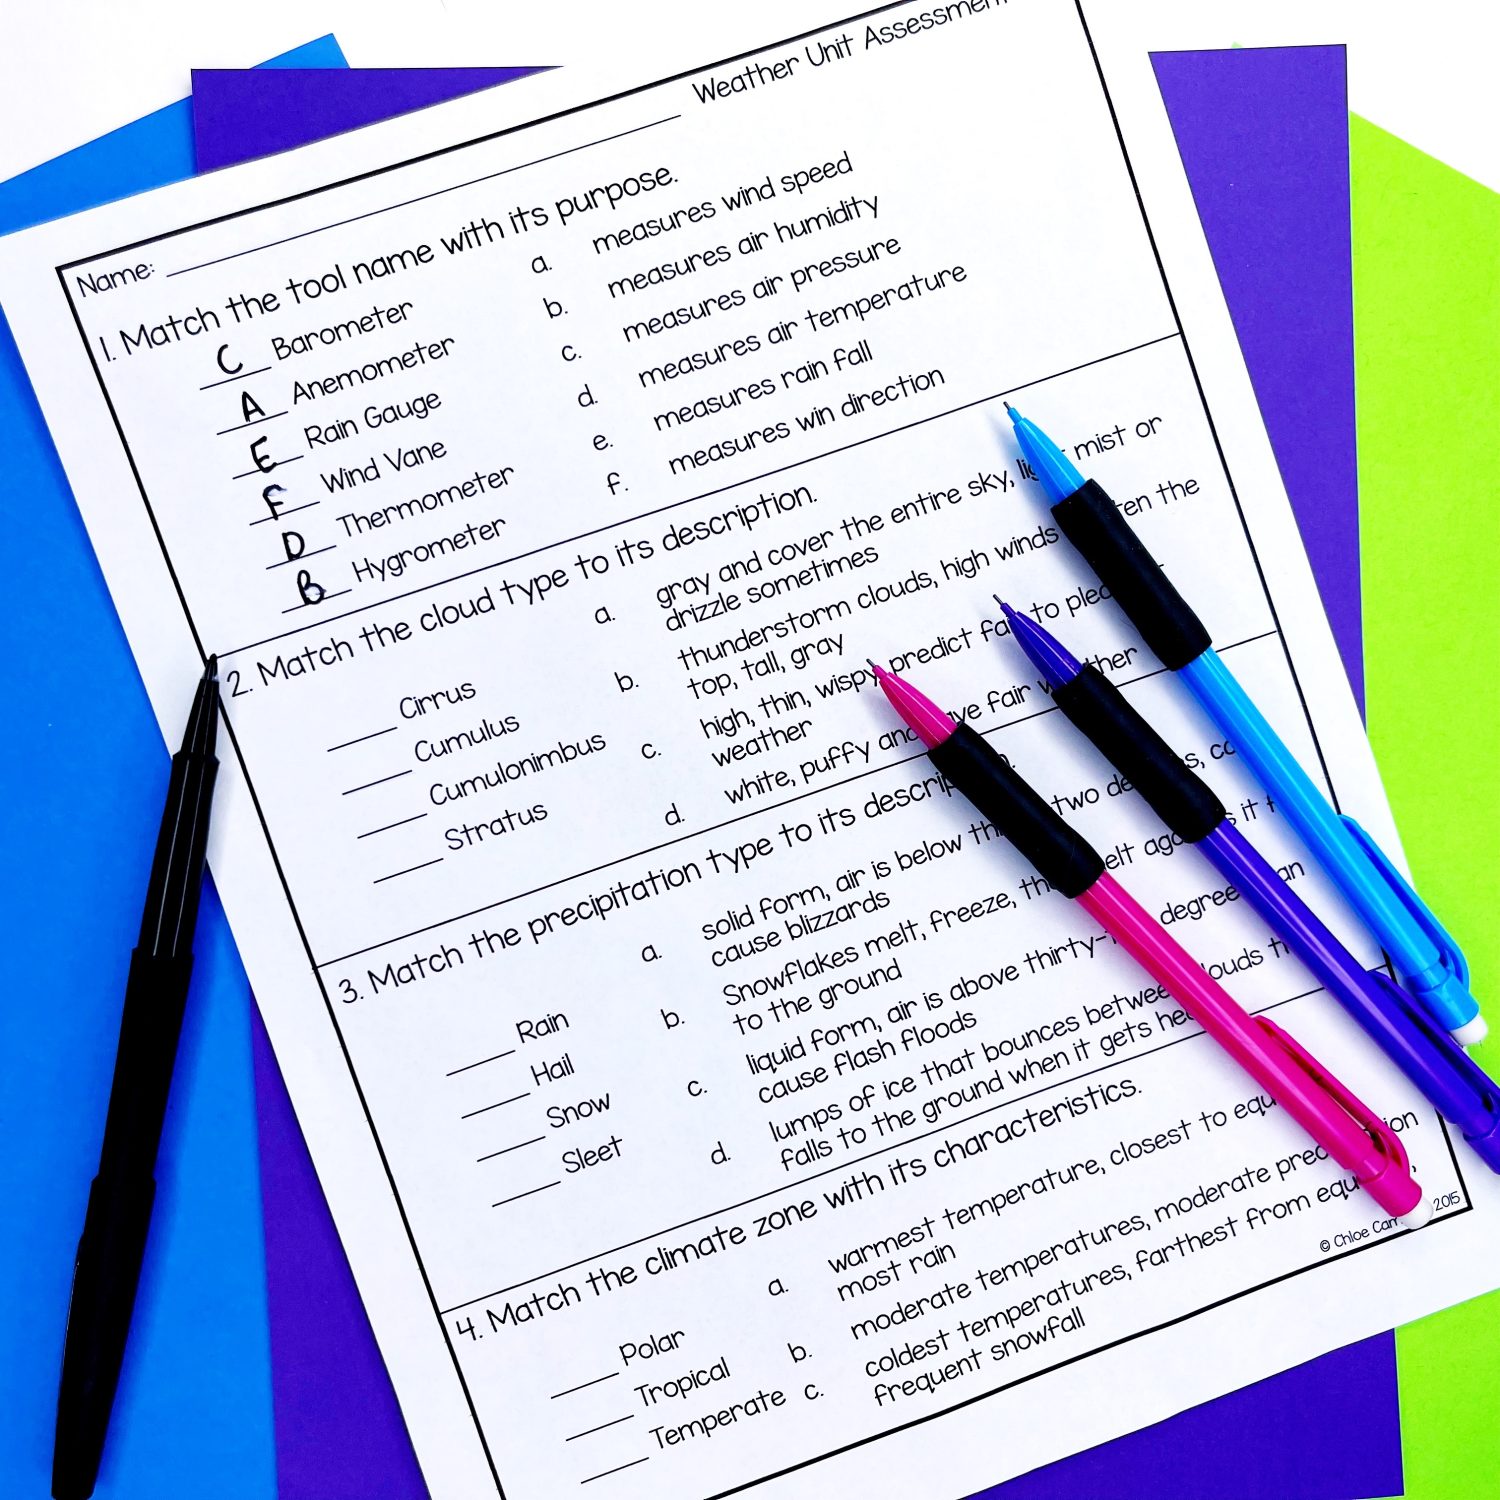
Final Weather Unit Assessment
Finally, it’s time for your students to put their knowledge to the test! Distribute the assessments and monitor their progress. When they’re finished, encourage them to flip their test over and draw a picture of the climate zones, specific events like severe weather, or something they’ve learned about teaching weather and climate.
You can also extend this assessment by asking students to use their weather journal to track local weather patterns or explore how human activity affects the global climate. This is a great way to integrate social studies concepts with earth sciences.
For another extension, students can look at hurricanes, tornadoes, and other severe weather events. How does the climate affect these severe weather events, and is global warming making these occur more often – and with greater intensity?
Love this unit?
You can get everything you need for all the weather activities done for you here, including lesson plans and an answer key!
Save this Science Lesson!
Pin these ideas to your favorite classroom Pinterest board. Then you can come back whenever you need ideas or inspiration!