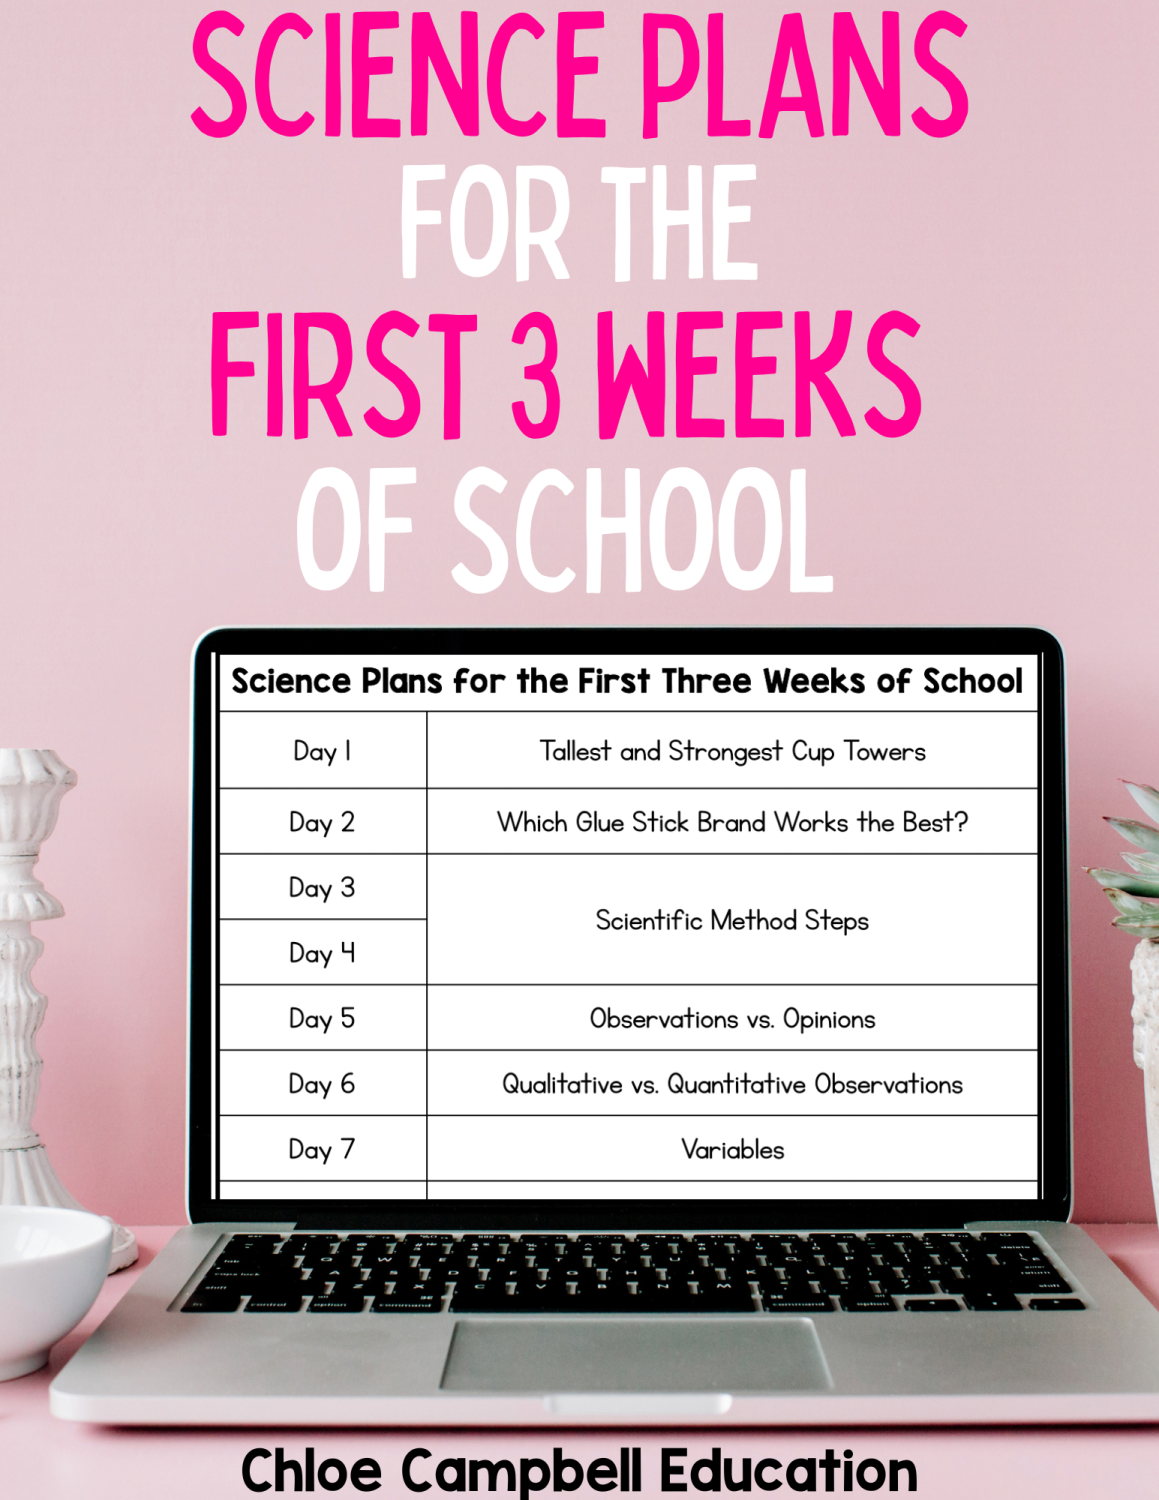
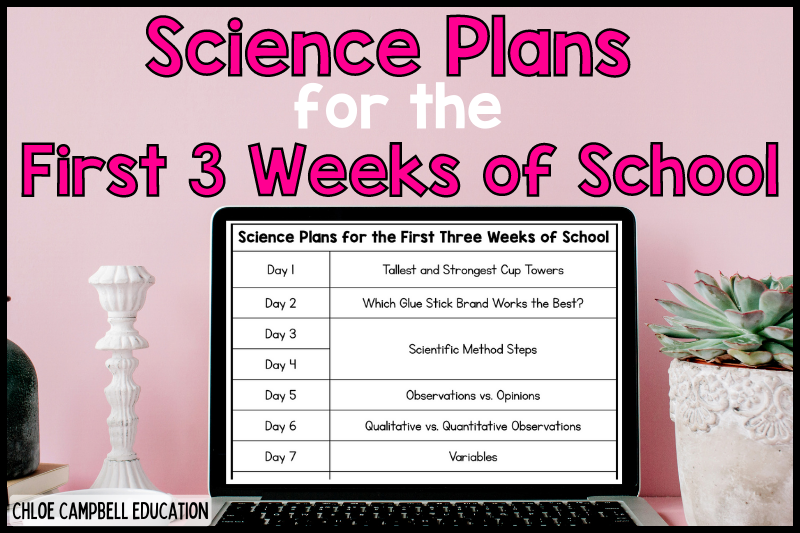
Science Plans for the First THREE Weeks of School!
Want all these lessons FOR FREE? Click here to have these lesson plans sent to your inbox for FREE!
Day 1: Tallest and Strongest Cup Towers
Materials Needed:
– Cups
– Measuring Tape
– Textbooks
– Recording Sheet
- Start the year off with a fun, hands-on STEM challenge!
- You’ll get to see the personality types of each student.
- Create small groups: 2-3 students only
- Challenge #1: Students will build the tallest cup tower using only cups.
- Challenge #2: Students will build the strongest cup tower. Place textbooks on top of the towers to see which tower is the strongest.
- Use a recording sheet to hold students accountable. They’ll design a plan, sketch their final tower, and record their measurements.
Day 2: Which Glue Stick Brand Works the Best?
Materials Needed:
– 3 brands of glue sticks
– Paper
– Recording Sheet

- Continue engaging your students in a hands-on experiment by testing which glue stick brand will work the best. Make a real world connection and tell your students this is how you’ll determine what glue to use during case for the rest of the school year.
- Create small groups: 2-3 students only.
- Students will use six small pieces of paper or construction paper.
- Remind students to use the same exact amount of glue and same strategy for each brand. This will help keep the results valid.
- Place four dots or draw an X on the paper with the glue stick and push another paper down on top of it. Hold for 30 seconds. Repeat for all 3 brands of glue sticks. Leave to dry in one place. Once the papers are dry, observe and record your observations on the recording sheet.
- Have a discussion about which glue stick brand you’ll want to use in the future. Ask students, “What do you think causes the difference in glue sticks?” Have students complete the recording sheet.
Day 3 & 4: Scientific Method Steps
Materials Needed:
– Foldable
– Recording Sheet
– 3 Brands of Paper Towels
– Cup of Water
-Plate or Container
-Measuring Cups
-Exit Slip
- Ask students to think back to yesterday’s experiment with the glue sticks. What steps did they use? Do they always use the exact same steps? Introduce the scientific method and explain that they’re are 5 steps for experiments.
- Create a scientific method foldable as a class with 5 flaps: Ask a question, Form a hypothesis, Design a controlled experiment, Collect and analyze data, and Draw a conclusion. Give a definition and an example under each flap.
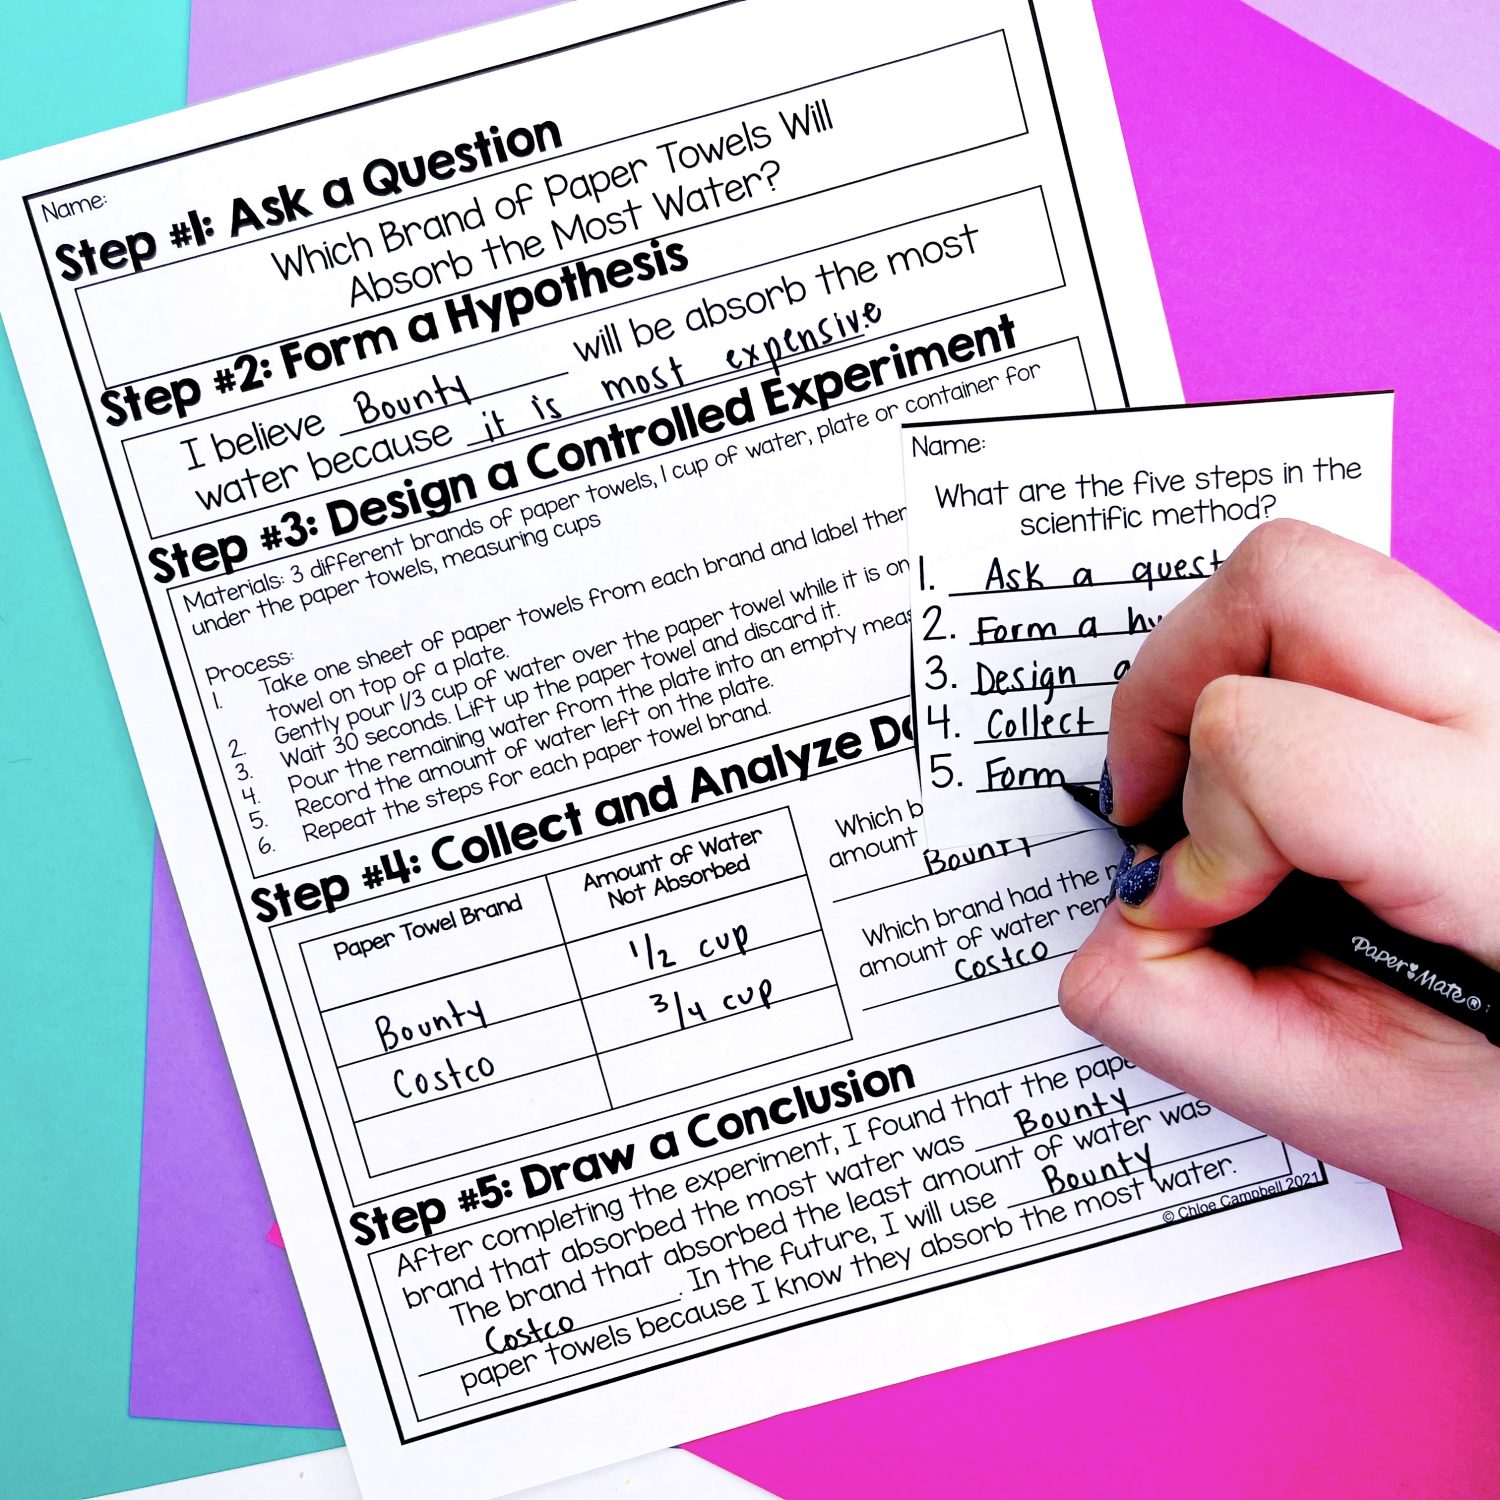
- Begin a paper towel experiment to model each step of the scientific method. “Which brand of paper towels will absorb the most water?”
- Use a recording sheet to form a hypothesis, write the steps for the controlled experiment, collect and analyze data, and draw a conclusion.
- Steps: Label each paper towel with the brand name and put the paper towel on top of a plate. Gently pour 1/3 cup of water over each paper towel while it is still on the plate. Wait 30 seconds. Lift up the paper towel and throw it away. Pour the remaining water from the plate into an empty measuring cup. Record the amount of water left on the plate. Repeat the steps for each paper towel brand.
- On the recording sheet, write a conclusion based on the data collected in this experiment.
- Give students an exit slip question to see who has mastered the five steps in the scientific method.
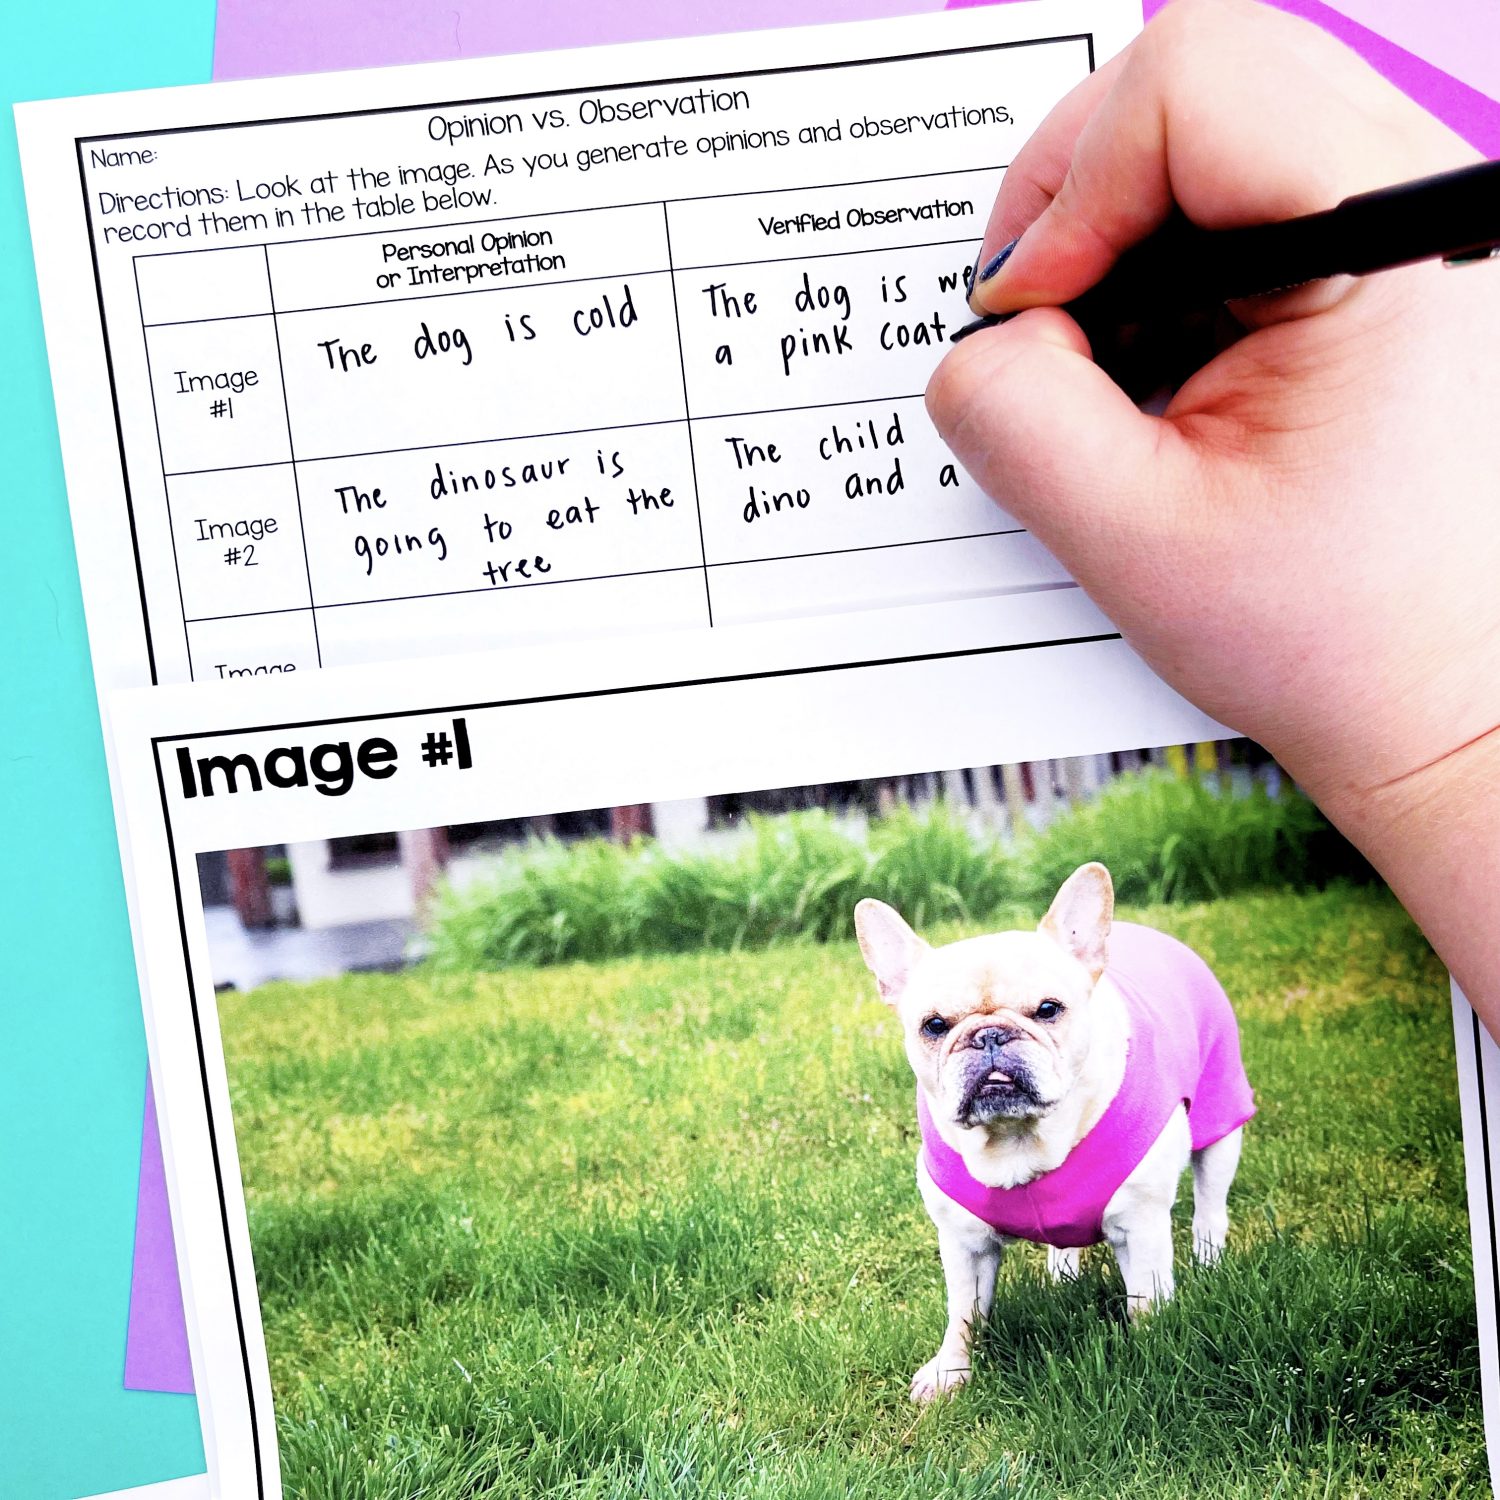
Day 5: Observations vs. Opinions
Materials Needed:
– Foldable
– 3 Images
– Recording sheet
– Exit slip
- Begin the lesson by creating a Verified Observations vs. Personal Opinions foldable.
- Show students three pictures. They’ll write down opinions and observations for each image. Share with classmates.
- Discuss the difference between observations and opinions.
- Have students answer an exit slip question to show their understanding between the differences of observations and opinions.
Day 6: Qualitative vs. Quantitative Observations
Materials Needed:
– Foldable
– 3 Candy Bars
– Recording Sheet
– Exit Slip
- Explain to students that in science we work mainly with observations. Create a foldable on qualitative and quantitative observations as a class. Give specific examples of each type of observation.
- Pass out three candy bars (remind students not to eat them until they are given instructions to do so). Students should record their observations – both quantitative and qualitative on a recording sheet. Supply students with scales, balances, rulers, etc.
- Discuss the differences between quantitative and qualitative observations.
- Have students answer an exit slip question to show their understanding of the types of observations.
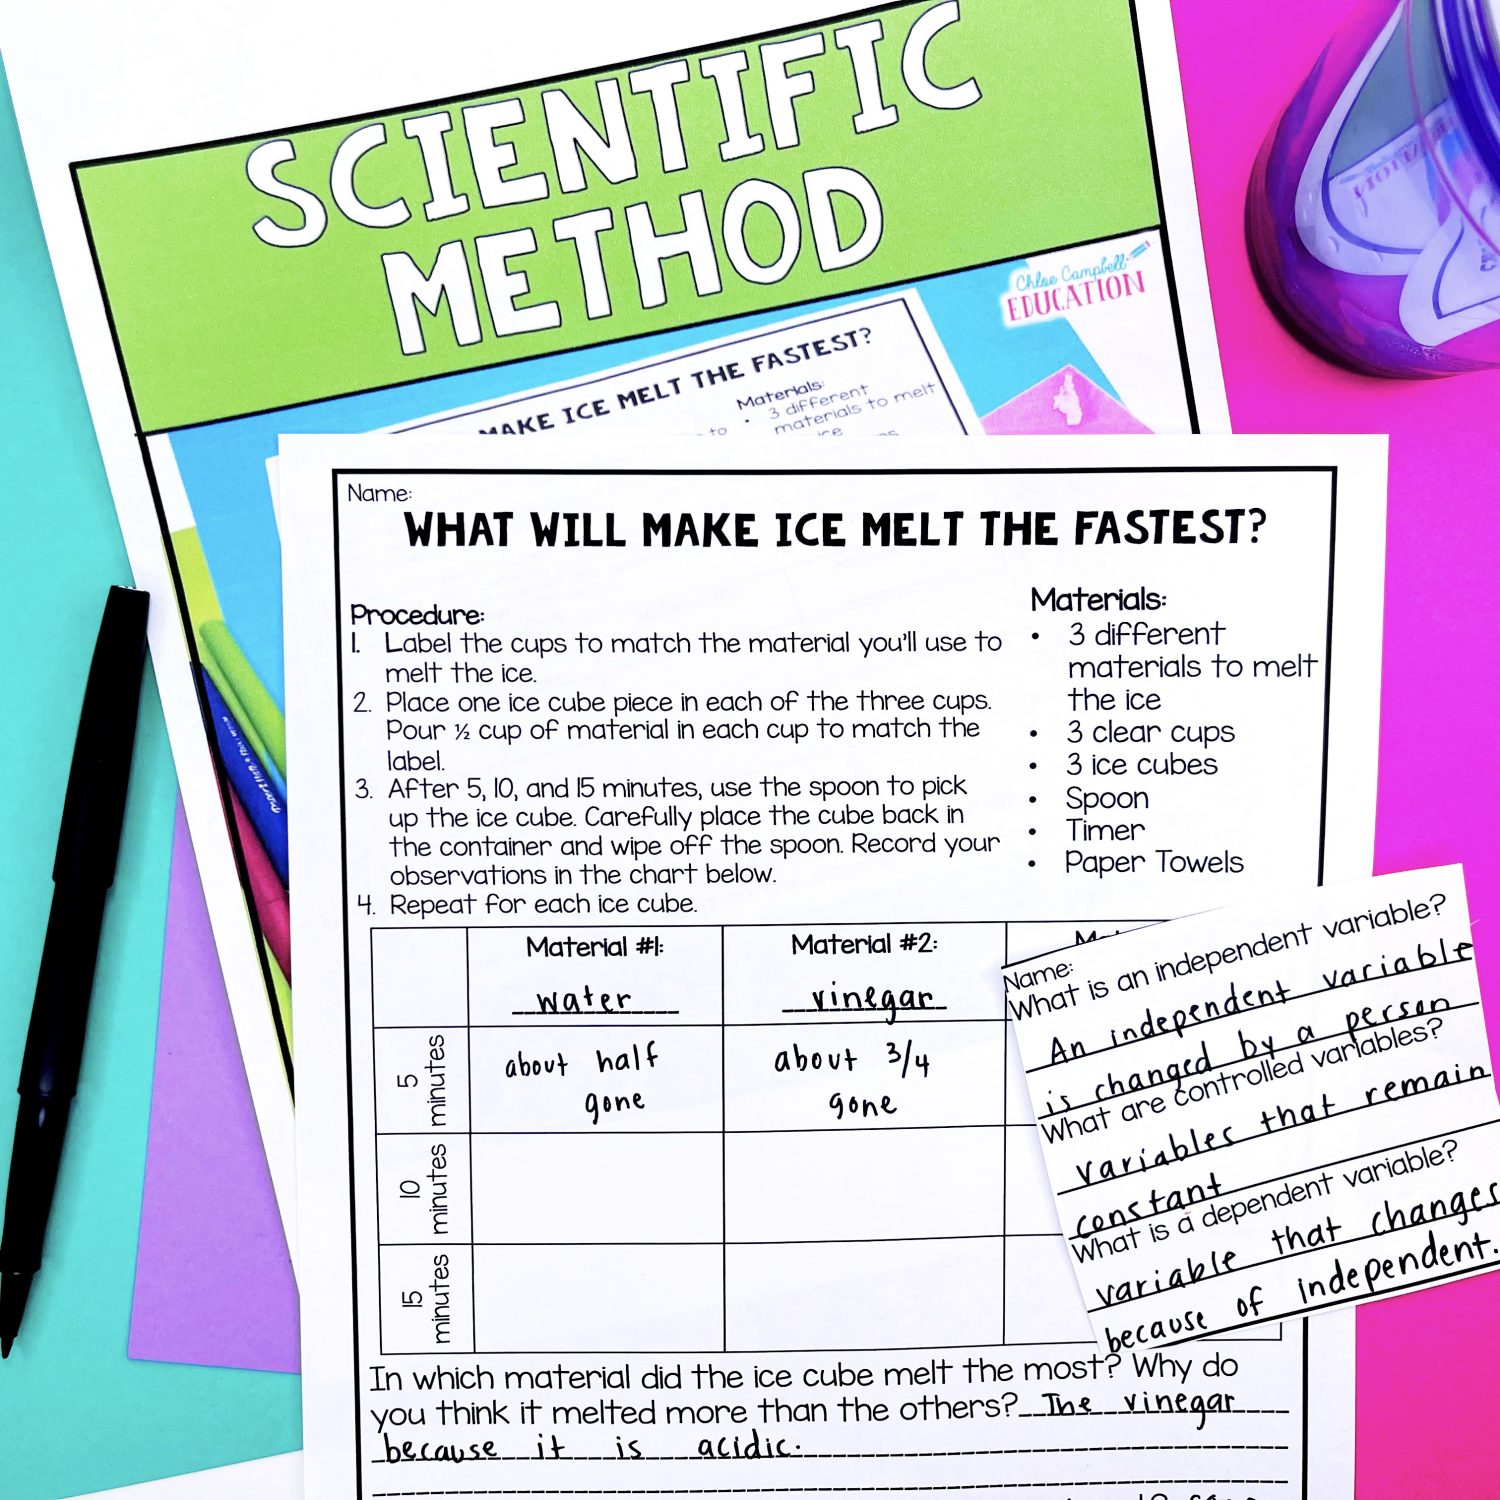
Day 7: Variables
Materials Needed:
– Foldable
– Recording Sheet
– 3 Materials to Melt Ice
-3 clear cups
-3 ice cubes
– Timer
– Paper Towels
– Exit Slip
- Begin the lesson on variables by sharing the idea that variables mean a feature of experiments that can change. There are three types of variables that you’ll dig into today.
- Create a foldable with three flaps: dependent, independent and controlled variables. Write the definitions and give examples of each in the foldable.
- Complete the experiment, “What will make the ice melt fastest?” to model the types of variables. You can choose what material you want to use to help melt the ice cube: salt, sugar, sand, room temperature water, etc. Use a recording sheet to hold students accountable with their observations.
- Discuss: What did you change or test? What did you keep the same? What did you measure or observe? These questions will help students identify variables.
- Have students complete an exit slip to prove what they’ve learned about the types of variables.
Want all these lessons FOR FREE? LOOK below to have these lesson plans sent to your inbox for FREE!
Day 8 & 9: Investigations vs. Experiments
Materials Needed:
– Foldable
– Sorting Sheet
– Venn-Diagram & Sorting Page
– Glue
– Paper Airplane Investigation Recording Sheet
– Paper Airplane Experiment Recording Sheet
– Paper
– Measuring Tool
– Exit Slip
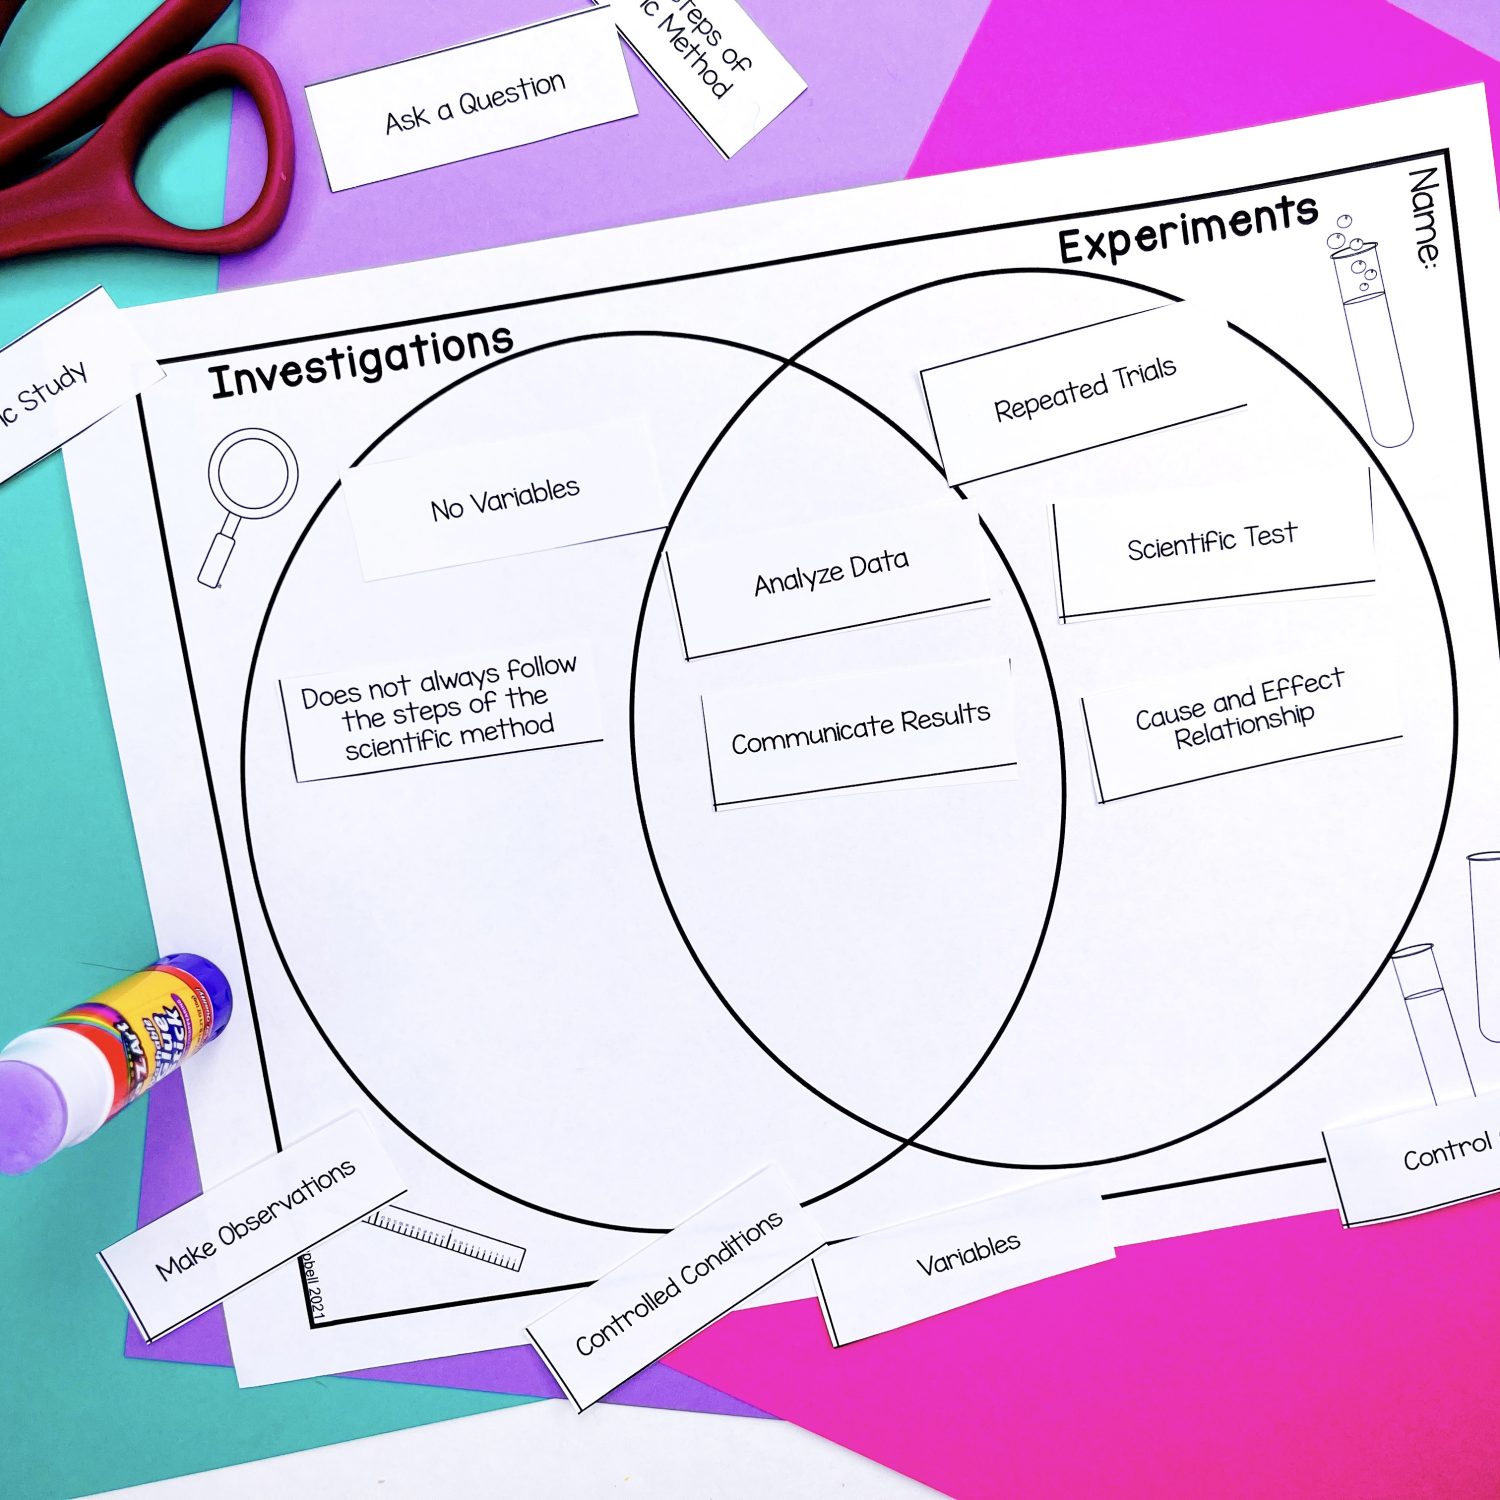
- Create a two flap foldable for investigation vs. experiment. Fill in with the definition and examples of each.
- Have students sort questions into columns: Investigations or Experiments. As you identify scenarios that are experiments, discuss the variables, or the things that are being compared. If you can’t identify variables, point out that it must be an investigation. As you discuss as a class or small groups, ask the student how they could turn the investigations into experiments.
- Be sure to make this point: Experiments require the comparison of at least two things. Investigations can also answer a question but they do not include variables.
- Sort description phrases and characteristics into the Venn-Diagram: experiment, investigation, or both.
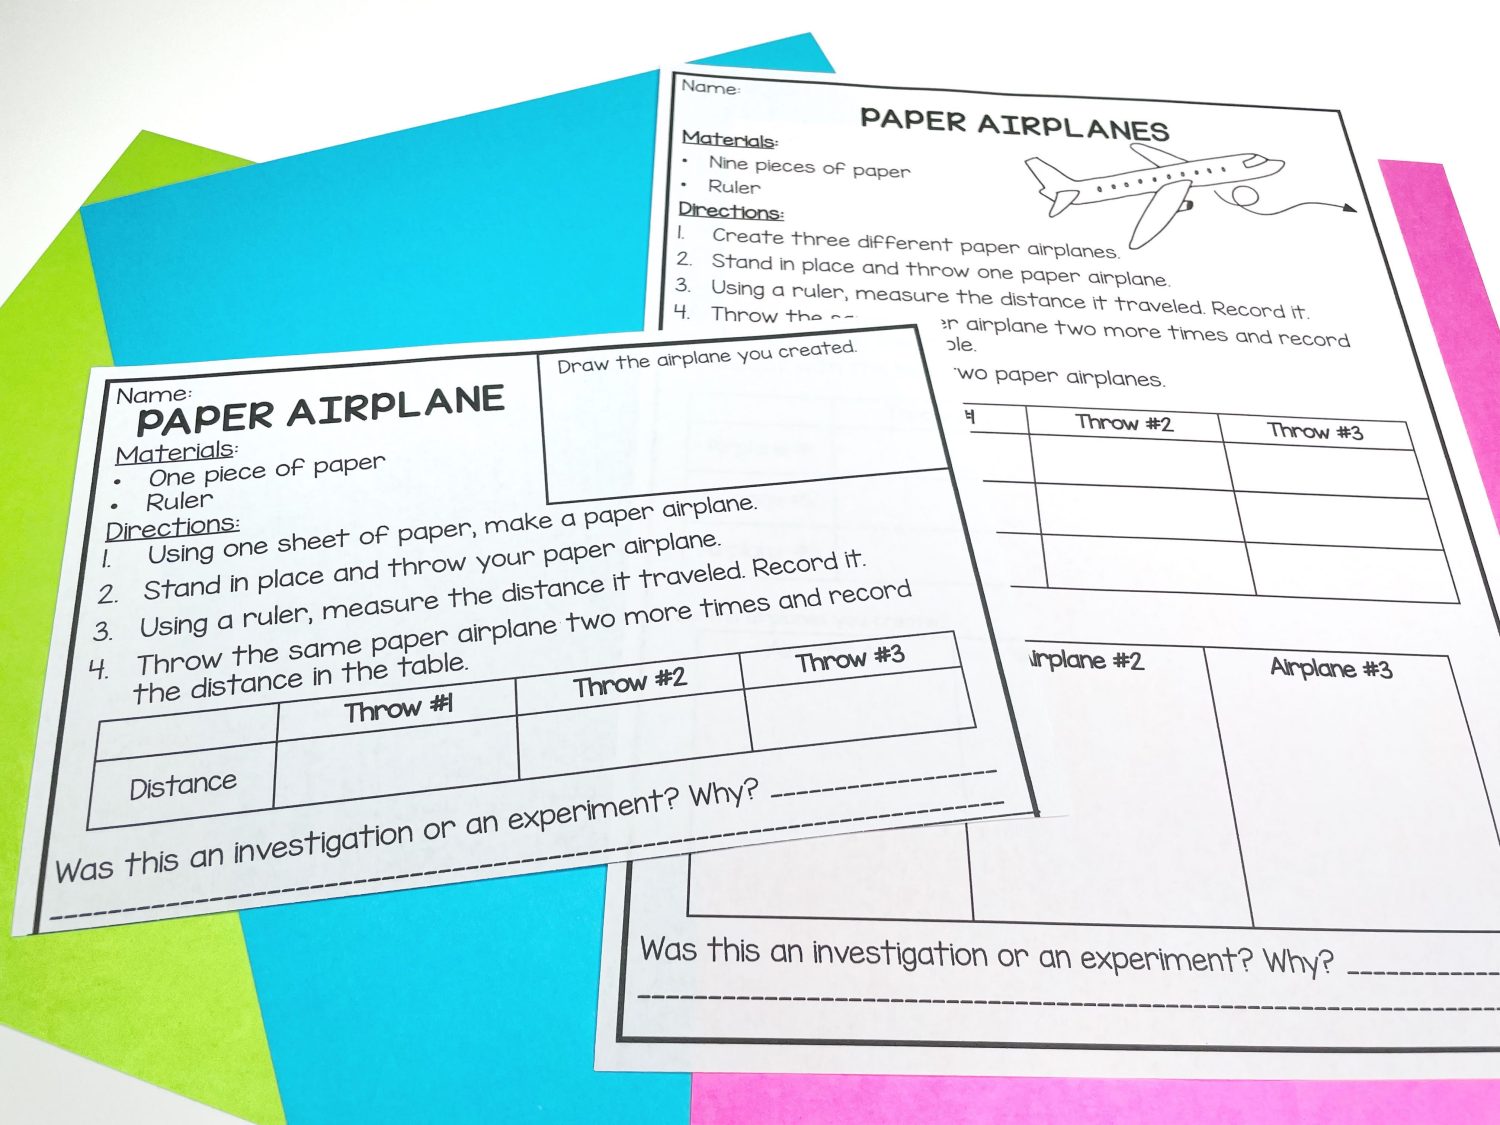
- Paper Airplane Challenge: Create one paper airplane, measure and record the distance, discuss with students if this is an investigation or an experiment. *It is an investigation because you are not comparing your results to anything. There are not any variables. The only question being asked here is, “How far will the paper airplane travel?”
- Paper Airplane Challenge #2: Create three different paper airplanes, measure and record the distance, then discuss with students if this is an investigation or an experiment. The question asked is “Which paper airplane design will travel the farthest distance? which makes this an experiment.
- Ask students to complete an exit slip question to show that they know the difference between an experiment and an investigation.
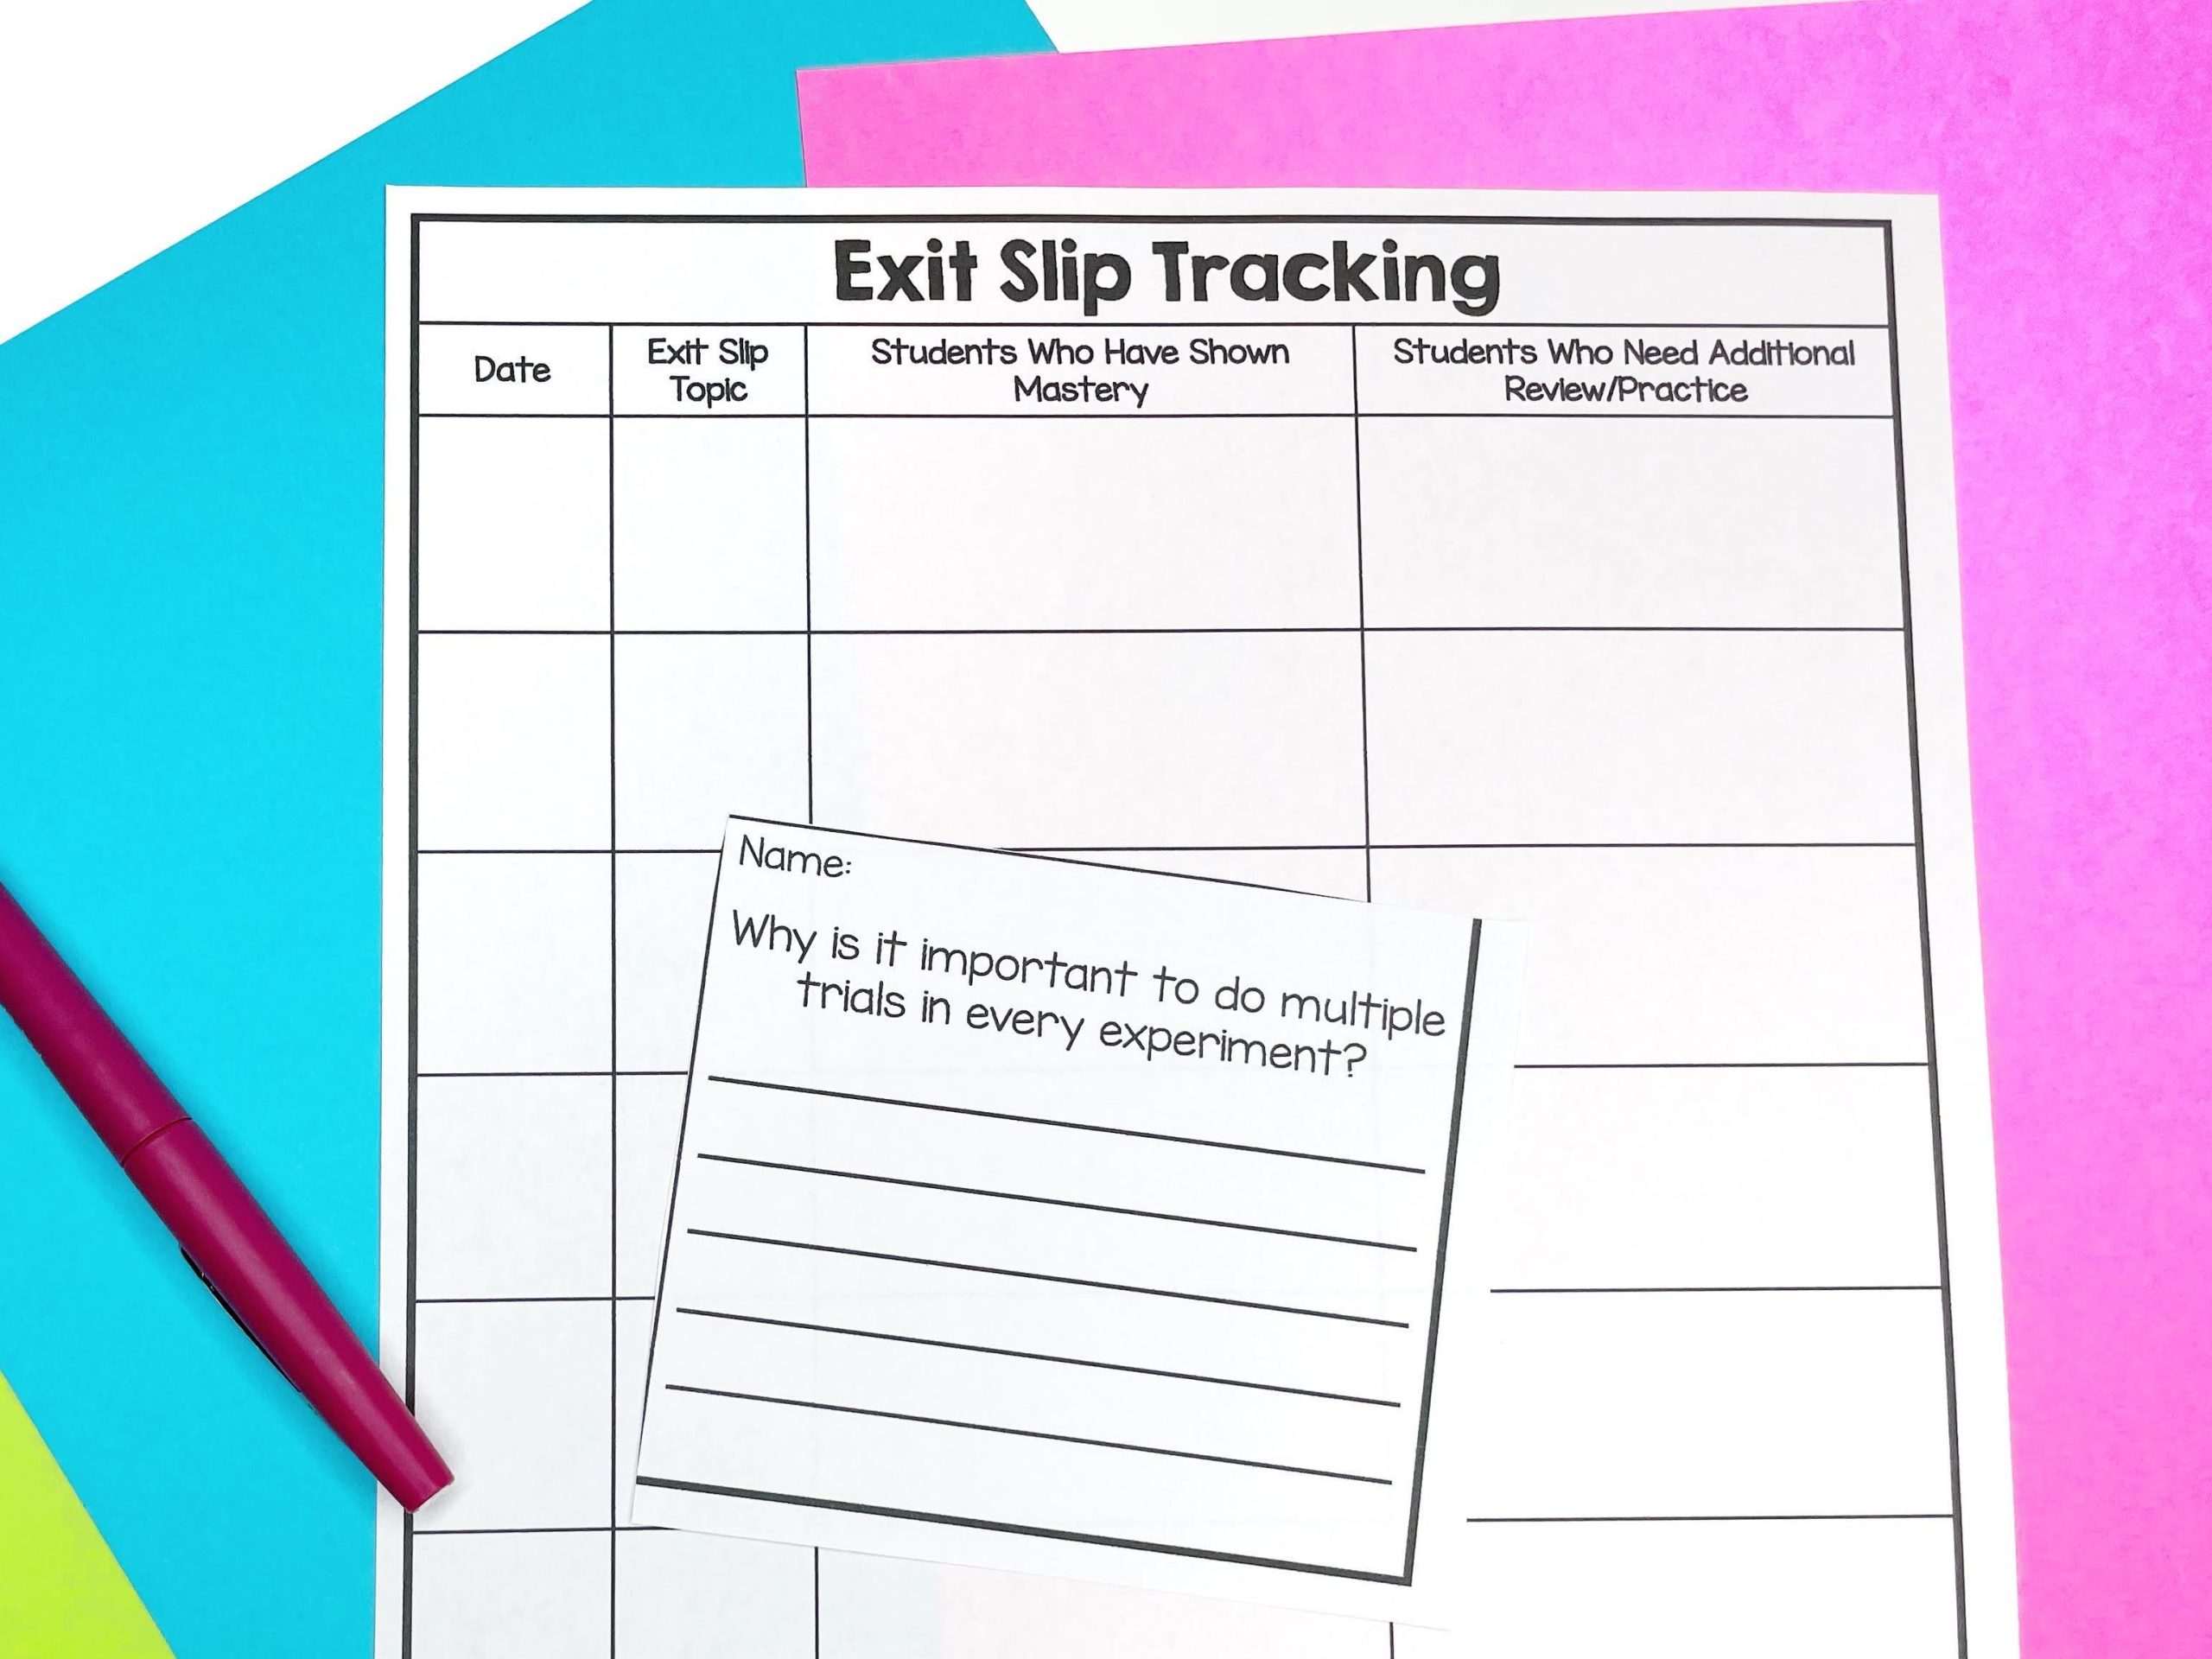
Day 10: Repeated Experimental Trials
Materials Needed:
– Recording Sheet
– Tennis Balls
– 2 Surfaces
– Measuring Tool
– Exit Slip
- Have a class discussion on trials: The definition of a trial is a single test of an independent variable. But why is one single test of a variable not an effective way to do an experiment? There are so many factors that could change the outcome and make it less valid if we only do the experiment one time. Most often, scientists recommend doing 3-5 trials for every experiment. This will keep down the number of errors and allow a scientist to average the trials instead of relying on just one test.
- Experiment: What surface will make the tennis ball bounce the highest? You’ll want access to two different floor surfaces: tile, concrete, carpet, wood, etc. Be sure to discuss the importance of keeping all factors the same except for changing the floor surface. How will students drop the ball? At what height? How will students measure the height of the first bounce of the ball? Who will hold the meter stick when the person drops the tennis ball? Who will watch the tennis ball bounce? Once students collect the measurements of both surfaces and complete 5 trials, they should record their findings on a recording sheet. Create a bar graph or a line graph to see how the five trials change. This is a great time to discuss variables in this experiment, too.
- Have a discussion on the importance of completing multiple trials with every experiment: human error, find the averages, see mistakes and/or outlier results, not focus on just one number but overall results.
- Have students complete the exit slip question on why it’s important to complete multiple trials in every experiment.
Day 11: Control Groups
Materials Needed:
– Foldable
– Recording Sheet
– Baggies
– Bread
-Marker
-Soap and Water
-Dirty Hands
-Paper Towel
-Exit Slip
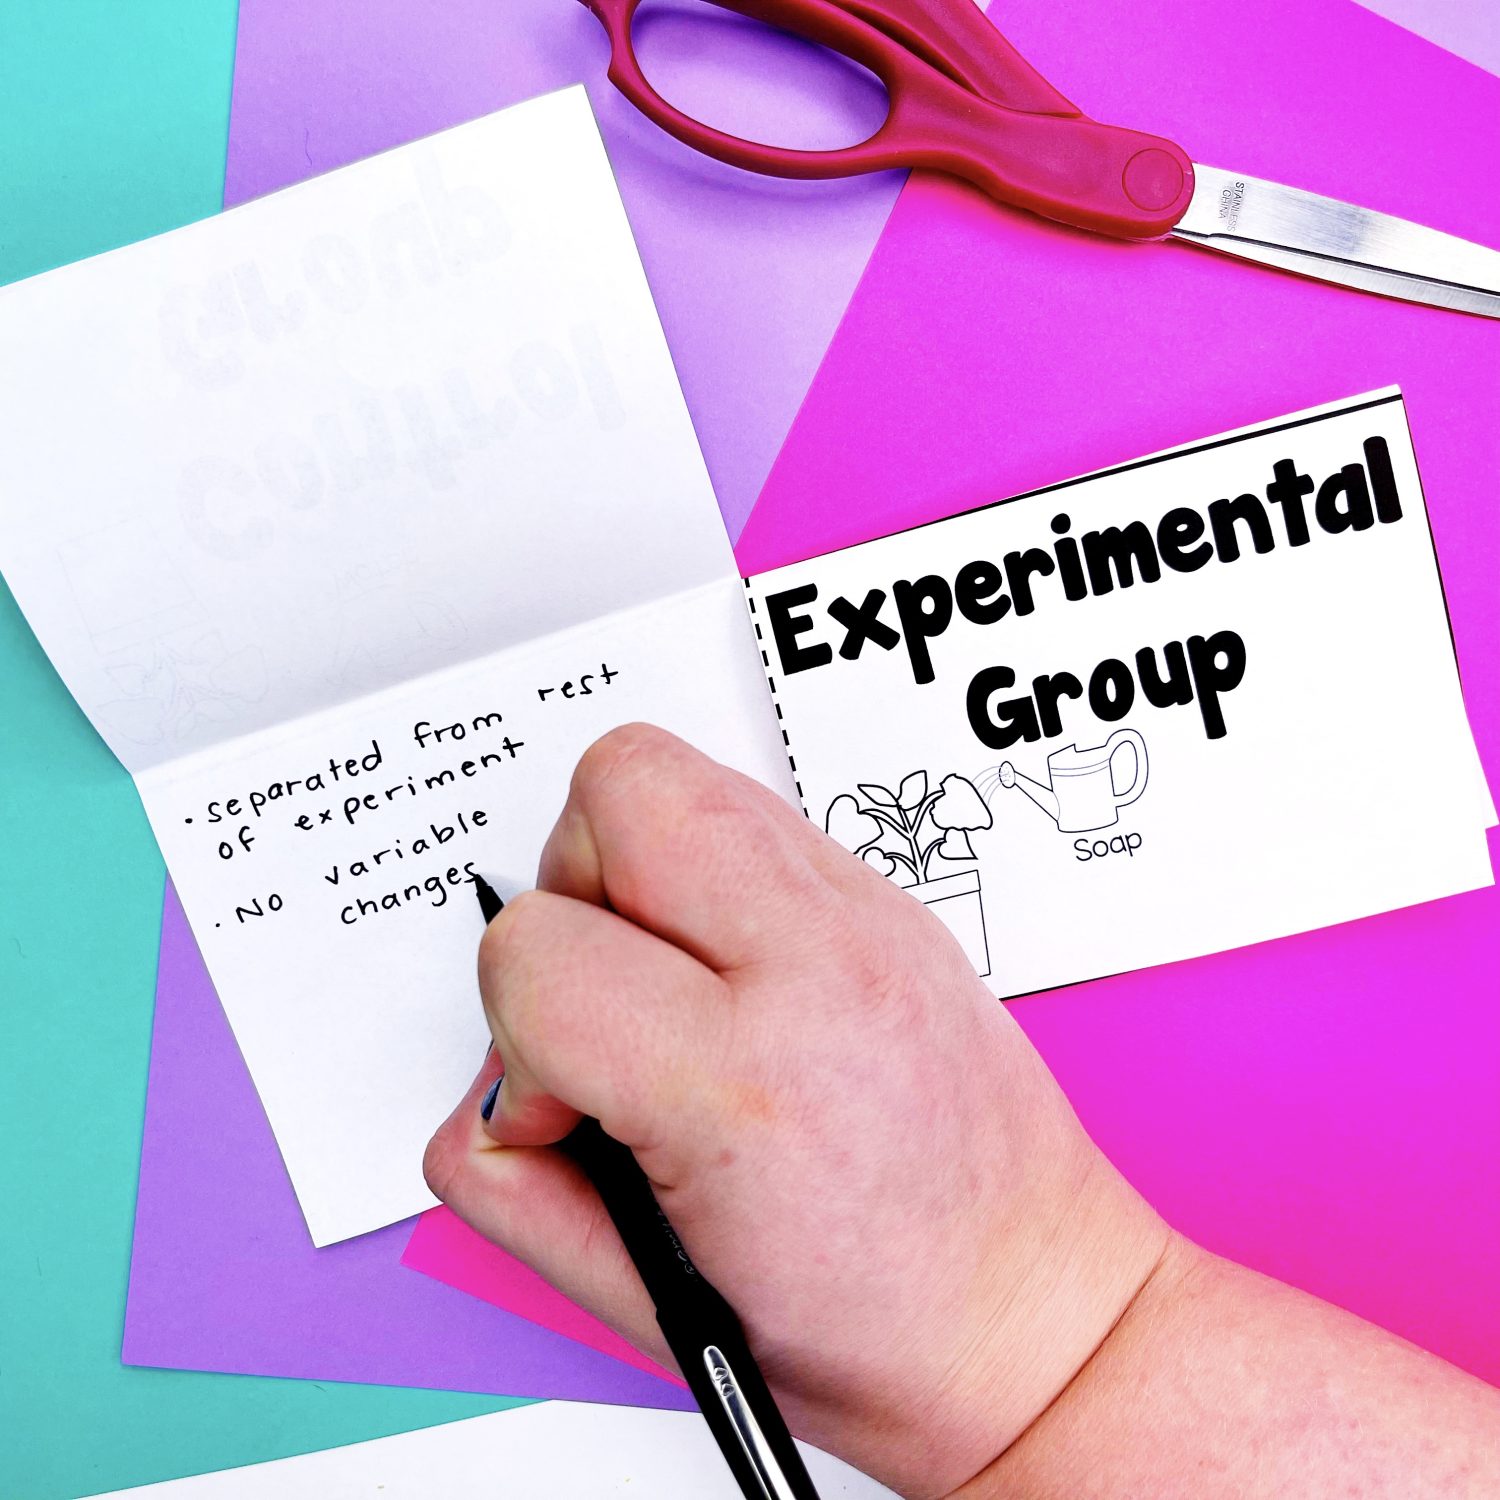
- Create a foldable on control group and experimental group. Add the definition and some examples to each.
- Experiment: Which bread will mold first?
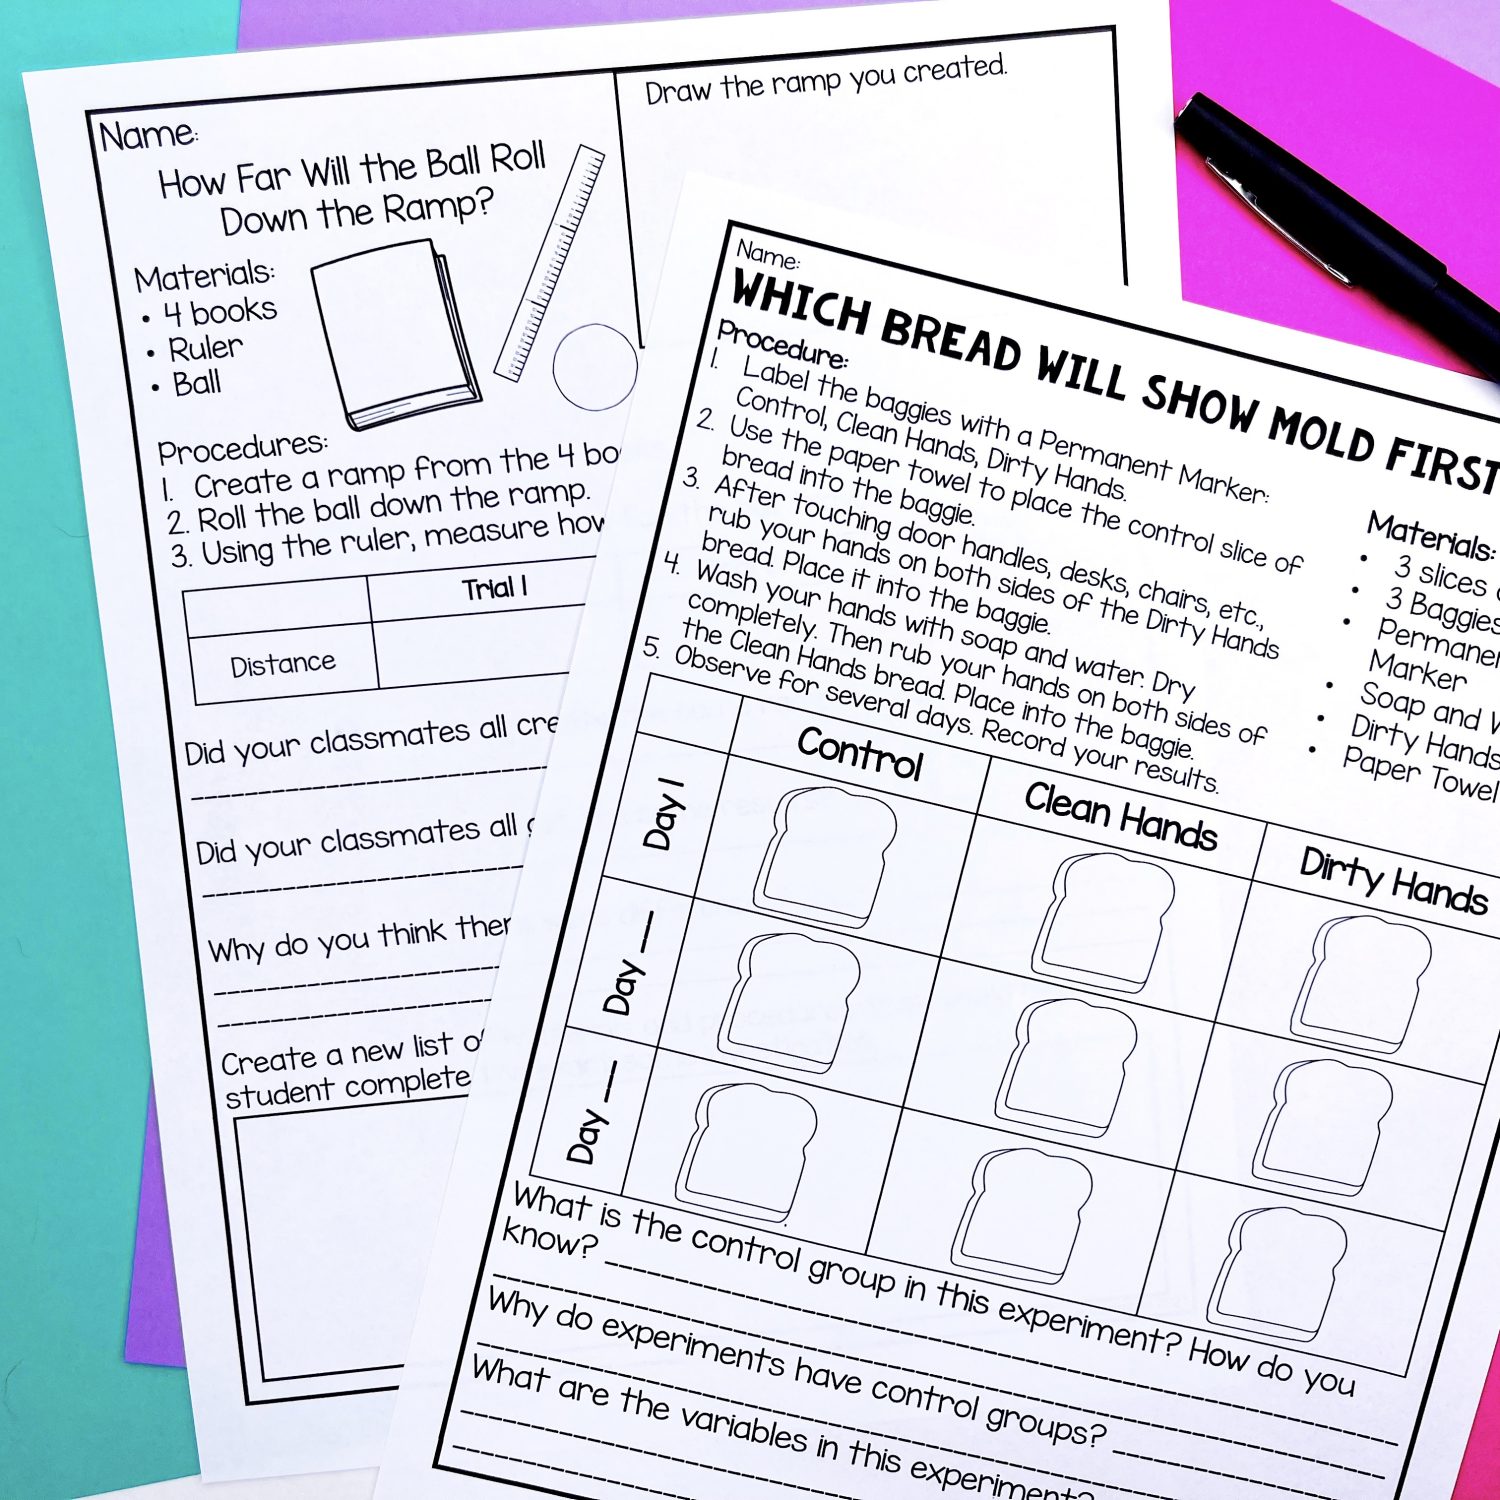
- Label baggies with a permanent marker: control, clean hands, dirty hands. Use the paper towel to place control slice of bread into the baggie (this is a normal slice without touching anything). After touching door handles, desk chairs, etc. rub your hands on both sides of the dirty hands bread. Place it into the baggie. Then, wash your hands with soap and water. Dry completely. Then rub your hands on both sides of the clean hands bread and place into the baggie. Observe for several days and record findings on a recording sheet.
- Teacher Tips: Use what bread close to its expiration date This will save you from waiting weeks to see mold. Avoid bread with preservatives. When you have students wash their hands, make sure students completely dry their hands. Mold will grow on moisture and we don’t want to add that variable to the mix. It should only take 4-5 days to see mold grow.
- Have a class discussion on control groups.
- Finish with an exit slip for each student that answers why experiments should have control groups.
Day 12: Control Group and Experimental Group Board Game
Materials Needed:
– Board Game
– Recording Sheet
-Game Pieces
-Dice
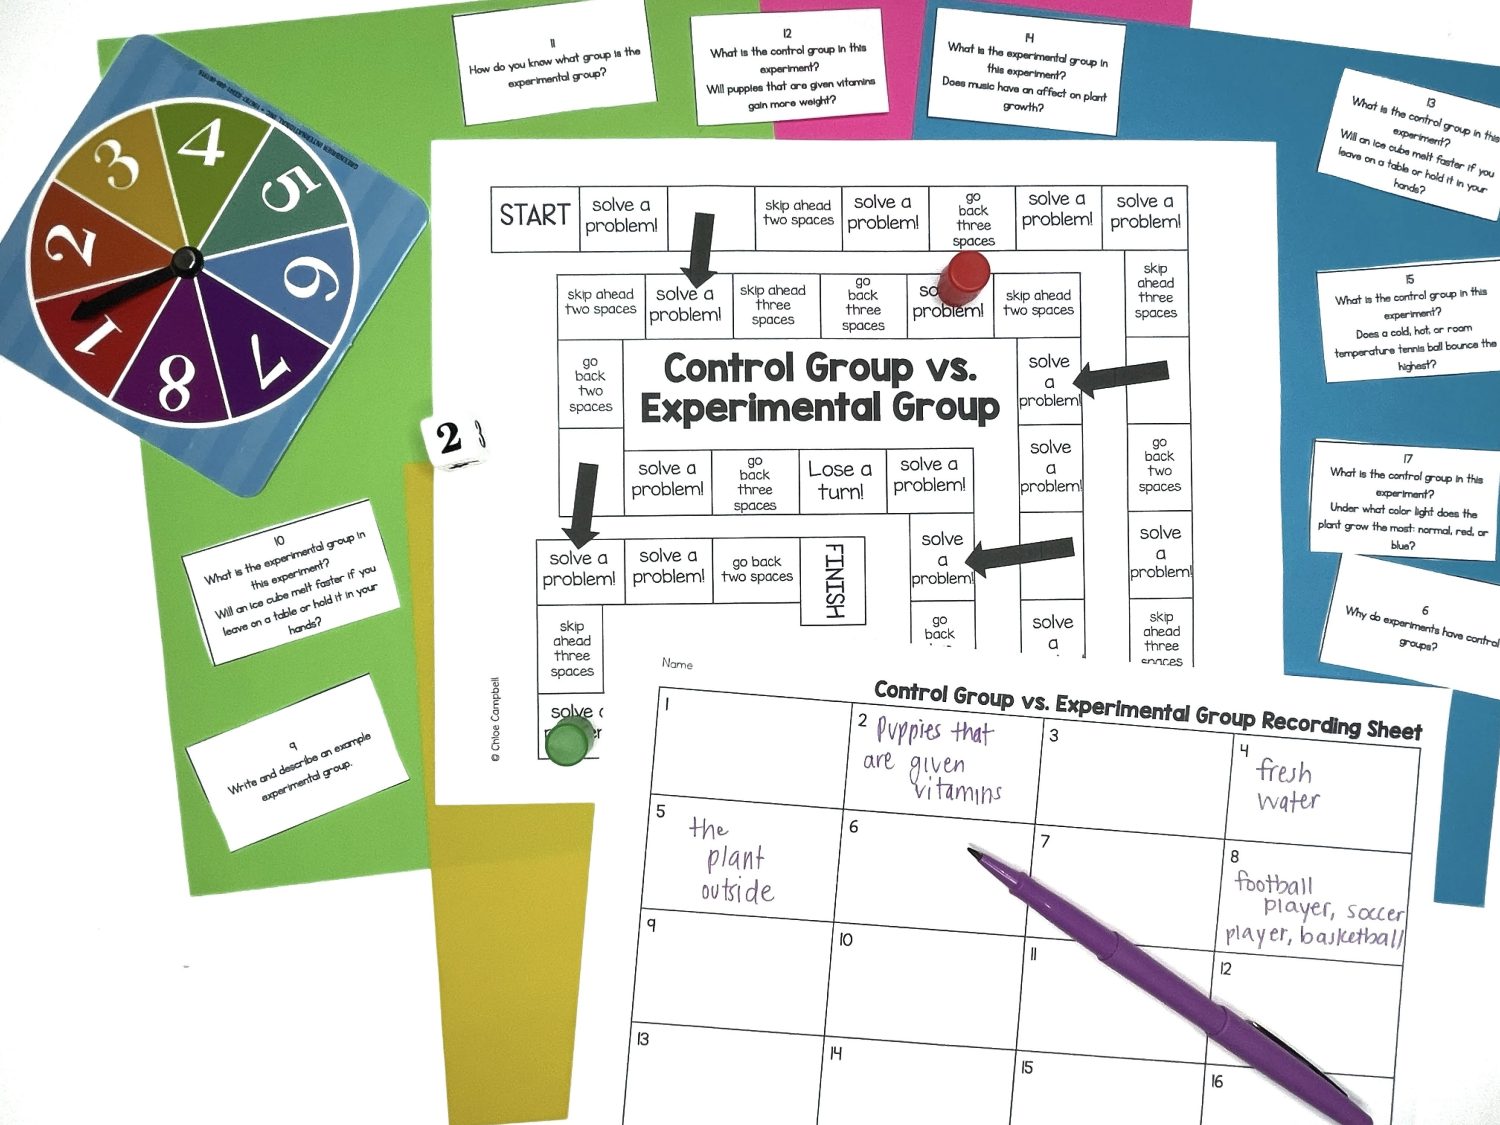
- Play a board game where students will answer questions about experiments. They will practice identify control groups and experimental groups in experiment examples.
Day 13: Scientific Method is Not Always Used in Science
Materials Needed:
– Index Cards
– Recording Sheet
– Exit Slip
- Have a discussion where you remind students of the steps of the scientific method. As a class, brainstorm times when scientists would not follow these exact steps.
- Challenge: Create the tallest index card tower that will stand on its own. It should measure at least one foot tall.
- Give students 20 index cards. Have students draw their designs before beginning. Start a time for the first build: I recommend 15-20 minutes. Pause and have students answer test #1 questions: Did your design meet the goal? What improvements can you make to your first design?
- Give 10-15 minutes for the second tower build. After time ends, have students answer test #2 questions: Did your second design improve? What improvements would you make if you have more time?
- Hold a class discussion about the scientific method and this investigation. Did you use the scientific method? Why or why not? Will scientists always use the scientific method?
- Have students complete an exit slip question where they prove if scientists always use the scientific method for investigations.
Day 14: Replicable by Others
Materials Needed:
– Recording Sheet
– Experiment Recording Sheet
– Exit Slip
– Books
– Ruler
– Ball
- Ask for students to write instructions for a new student to travel from your classroom to the front office. Encourage students to be as specific as possible. If you have the ability, allow students to walk to the front office as they record the process.
- Collect the students’ instructions and redistribute to different students. Ask students to read through the directions that were written on the page. You can give them time to follow instructions and see if they were specific and correct. Encourage students to find ways to correct the directions or make them more specific.
- Discuss as a class: were the directions detailed enough to allow you to successfully get to the front office? Was the end result the same for all of the classmates? Did all students end up at the front office or were they scattered around the school? What additions could you make to make sure everyone ended up in the same location? Make the point that all directions should be replicable by others, including in science.
- How far will the ball roll down the ramp? Use four books, a ruler, and a ball. Create a ramp from the four books and roll the ball down the ramp. Record the distance of how far the ball travels for three trials. Do not be very specific about instructions here. The goal is to let students pick the books and the ball that they use. We want student to have different results to prove the point of the lesson.
- As a class, discuss why there are different results. Revise the materials and procedures to be more specific. If you’d like to try the investigation again with more specific directions, discuss how the data is more similar now.
- Ask students to complete an exit slip question about why it’s important for procedures and directions to be clear and specific in science.
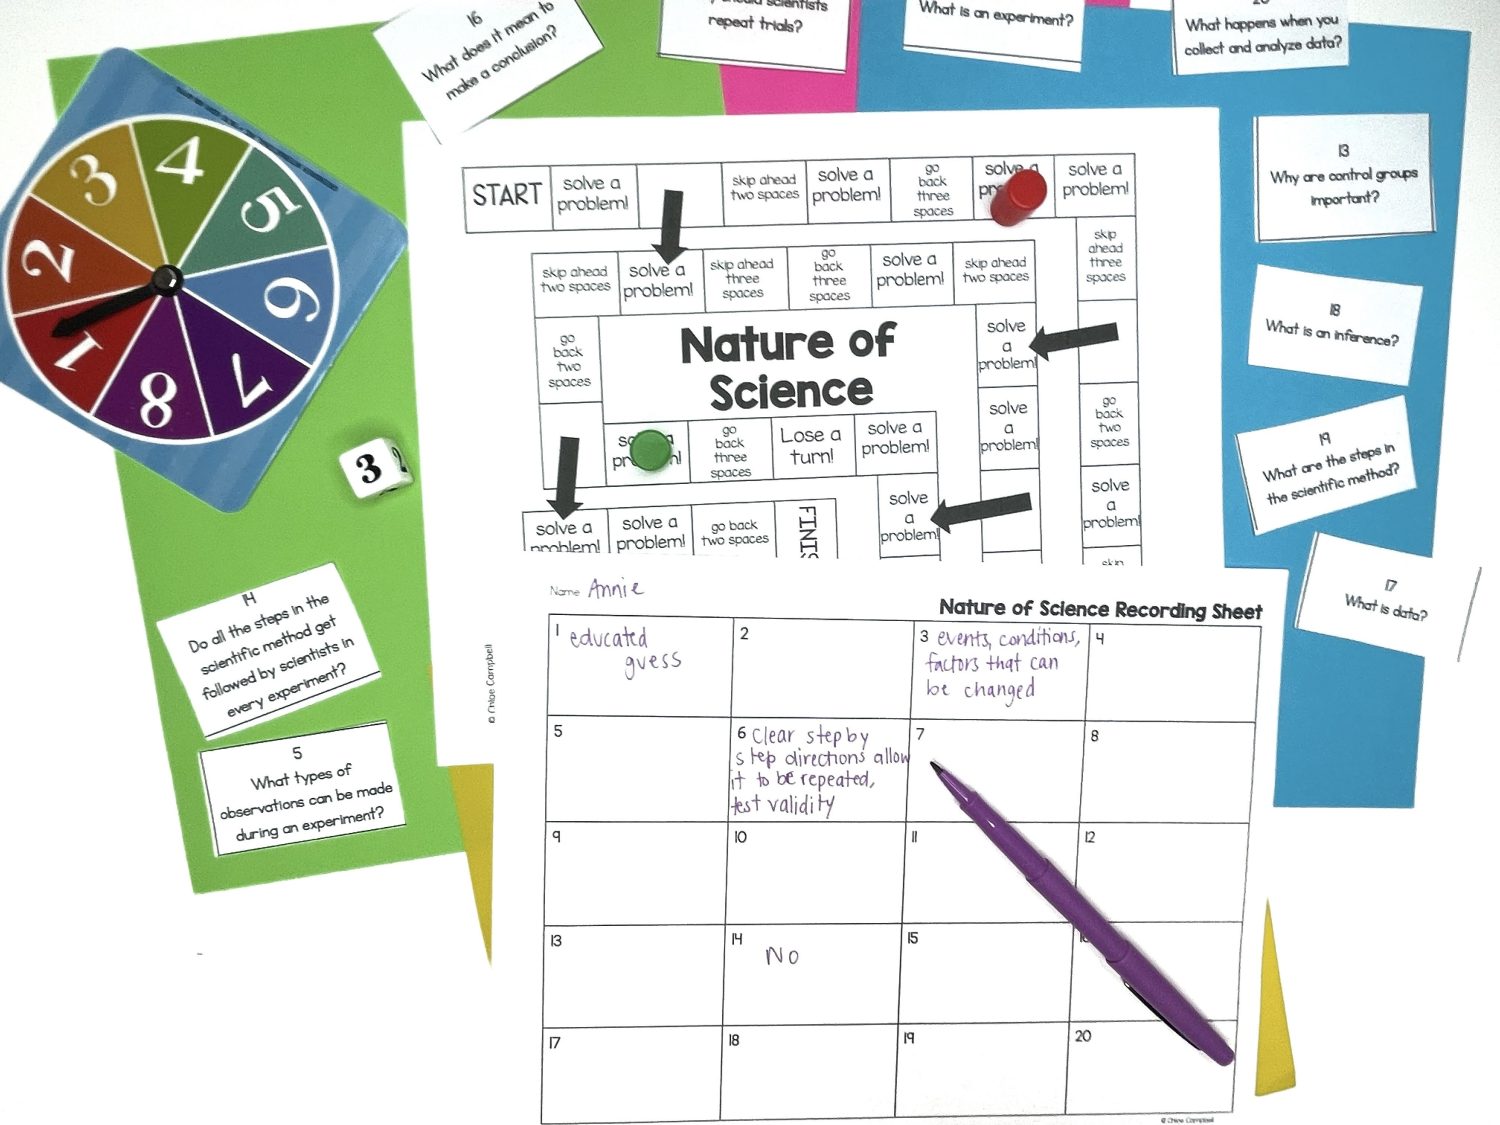
Day 15: Nature of Science Review Board Game
Materials Needed:
– Board Game
– Recording Sheet
– Game Pieces
– Dice
- Play a board game where students will answer questions about everything they’ve learned about nature of science and the scientific method.
If you love these ideas, download the recording sheets, direction pages, foldable notes, and exit slips HERE! Save yourself the time. Just print and use in your classroom!
Download the Nature of Science Unit HERE! It includes all teacher directions, learning goals, foldable notes, hands-on activities, student recording sheets, experiments, investigations, exit slips, and answer keys!

Download the Control Group vs. Experimental Group Board Game HERE!
Download the Nature of Science Board Game HERE!
Download the 5 Back to School Experiments & Recording Sheets HERE!
Save these LESSON PLANS!
Pin these lesson plans to your favorite classroom Pinterest board. Then you can come back whenever you need ideas or inspiration!